In this lesson, you will learn how to add custom post types (CPT) to WordPress sites with Toolset. We'll also cover how to customize the CPT listing and editing.
WordPress comes with pages and posts. For other things such as products, services, your team, testimonials and anything else, the best way is to setup custom post types.
The main advantages of using custom types are:
- Each custom post type gets its own editing interface in the admin, including its own fields and taxonomy.
- It’s easier to edit content, when you separate different kinds of content into custom post types.
- You can design different templates for different custom post types.
- You can connect between different post types using post-relationship.
- You can control user access for different types on both the admin and the site’s front-end.
Interested? Let’s get started!
Steps for Creating Custom Post Types
- Go to the Toolset → Dashboard page and click the Add new post type button.
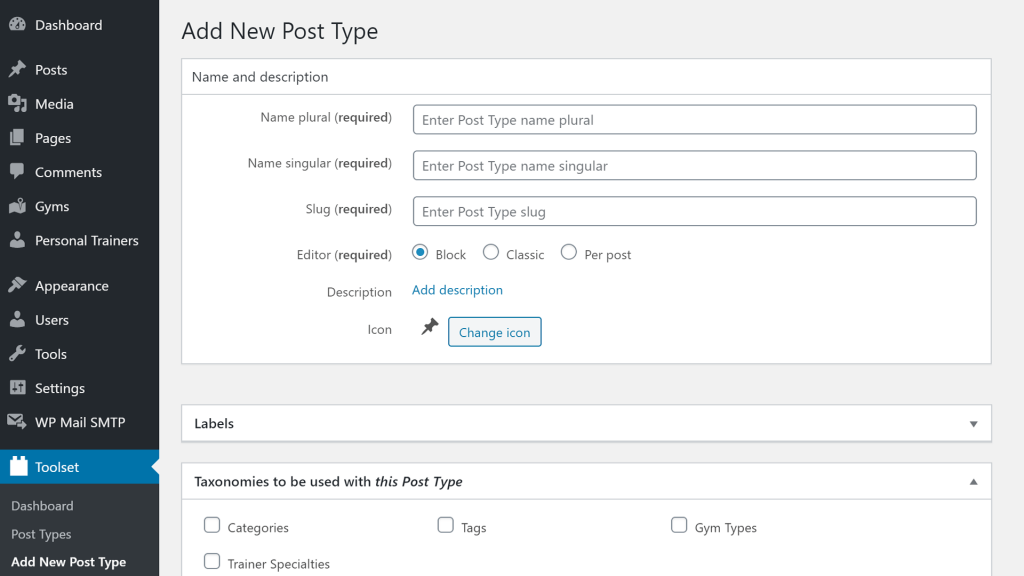
- Enter the plural and singular name for your post type. Slug is created automatically.
- Click the Save Post Type button.
The page will reload and you will see your post type appear in the main WordPress admin menu.

Adding Custom Fields to Custom Post Types
By default, custom post type provides only the standard WordPress fields like the title, main content (body) and date of publishing.
Toolset allows you to create custom fields for any post type.
With custom fields, you can add any custom information to your custom posts. In other words, when you edit your custom posts, your custom fields will appear. Of course, you can then use Toolset to display all these fields on the front-end.
For more information, check out the lesson about creating and using custom fields.

Displaying Custom Post Types on the Site’s Front-end
Most themes will display only the title and excerpt of your custom types.
With Toolset, you can design your own templates, which will include the fields, layout and design that you want.
Additionally, you design your template only once and apply it to all posts belonging to the custom post type. Later, if you need to edit the template, your changes are automatically applied to all posts of that type.
Read more about this in the lesson about creating templates for displaying custom posts.
Select Fields to Display on the Post Type’s Listing Page

In the admin, the listing page for your custom post type displays all the posts belonging to that post type. By default, the list only has columns for the post title and date of publication.
Once you have created your own custom fields, you can show them as columns on the custom post type listing page.
To do this:
- Edit the custom post type.
- Expand the Post Fields to be shown as columns in Post Type listing in WordPress Admin section.
- Select the fields you want.
Sections to Display When Editing Posts

When you edit a custom post, by default, you will see only two standard post fields you can edit: title and the main content (the main editor).
To enable additional post fields when editing:
- Edit the custom post type.
- Expand the Sections to display when editing… options.
- Use checkboxes to enable options like the Author, Comments, and more.
Understanding the Post Type’s “Options” Panel
When you’re creating or editing a custom post type, you can find the additional Options panel below the main settings. This panel features a lot of additional options related to permalinks, archives, post type interface, and more. In most cases, you can simply use the defaults for these options.
Related topics
- Using Custom Fields vs. Taxonomy
- Conditionally Display Custom Fields in WordPress Backend
- Adding a Custom Taxonomy to WooCommerce Products
- Using Post Reference Field to Set-Up One-to-Many Relationships
- How Content is Displayed
- Adding Custom Posts
- When and Why You Should Use Custom Types
- Creating a Custom Taxonomy
- Creating Custom Fields
- What Are Custom Types and How They Work
- Convert existing custom types and fields to Types control
- Limitations on HTML Content in Post Fields
Need help?
If you bought Toolset, log-in to your account and post your questions in Toolset technical support.
Not a client yet? Find the account that’s best for you.