The Layouts plugin adds drag-and-drop functionality to Bootstrap-based WordPress themes. It allows you to design page layouts from the WordPress admin. When you distribute Layouts-based themes, your end-users too can create their own new layouts and also edit the ones that you have created.
The Layouts plugin works with themes that are integrated with it and the ones that are not. The main difference is that when a theme is integrated with Layouts, you can use it to design any part of the site, from header, contents and sidebars, to the footer. When a theme is not integrated with Layouts, you can use it to design the content part of your site, while the rest is defined by the theme itself.
Technical requirements for Layouts integration
Layouts works closely with the Bootstrap grid system. Any WordPress theme that already uses Bootstrap can be easily integrated with Layouts. In order to use Layouts with themes that do not load Bootstrap, you first need to load the Bootstrap framework.
How Layouts plugin works
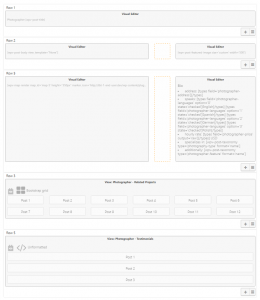
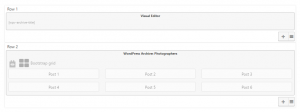
Layouts plugin creates new “layout” objects, which allow you to design themes using a drag-and-drop interface. A layout is based on the Bootstrap grid-system and includes rows and columns.
You can design layouts as templates for all posts in a post type, or you can design the contents of any specific single page on its own (for example a homepage or contact page).
Here are some example layouts and how you would typically assign them to content:
Kinds of cells that Layouts supports
The cells library that comes with Layouts offers flexible functionality without clutter. Instead of a bloated list of cells, with numerous configuration options, Layouts gives you cells that work as building blocks.
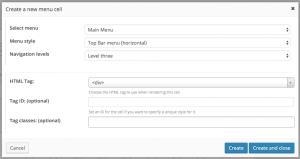
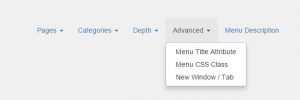
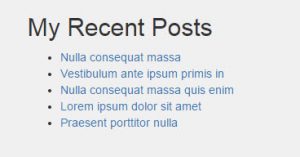
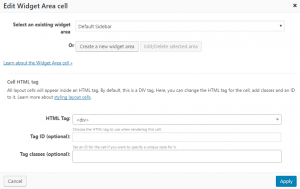
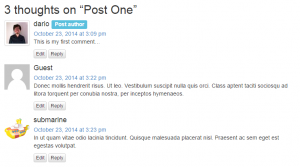
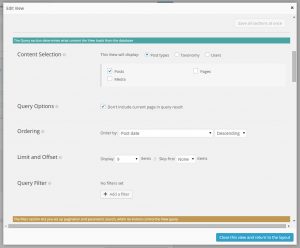
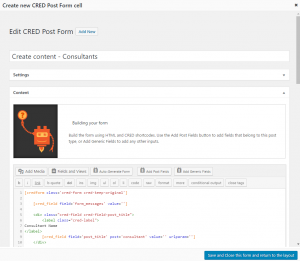
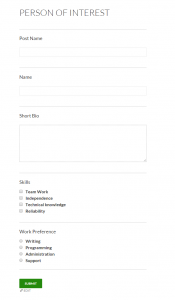
Here are some of the cells that you will find in Layouts:
When you are ready to start building your custom cells, we recommend reading a tutorial about turning your PHP code into Layouts cells
PHP integration for Layouts
As mentioned above, if you want to use Layouts to design your whole site, including header, sidebars, and footer, you need to integrate your theme with the plugin.
This is done by editing the template files and replacing the standard WordPress output with the Layouts plugin output. Most themes have an output loop that looks similar to this:
while ( have_posts() ) : the_post();
…
endwhile;
You need to replace it with a single function for Layouts render:
the_ddlayout();
For detailed steps, please read the guide on integrating Layouts with themes.
Recommended workflow for developing Layouts-based themes
Now that your theme is integrated with Layouts, you might be wondering what should be your next steps. Here are the steps that Toolset team recommends for your Layouts-based designs.
- Do a ‘paper design’ of the layouts of different parts of your site
- Identify elements that appear on every page (like header and footer) and create a parent layout for them. Create child layouts for the different page layouts (read more on hierarchical layout design).
- Create the Views, WordPress Archives, and Forms cells for different parts of the theme.
- Use the Layouts Cells API to turn your existing PHP code into drag-able Layouts cells.
- If you are creating themes for redistribution, please refer to our documentation about building Toolset-based themes.


