A typical WordPress theme includes a sidebar template file, which produces a widget area next to the main content. When you use the Layouts plugin, you don’t need special “sidebar” cells. Next, we will show you how to create your own sidebars using the Layouts plugin.
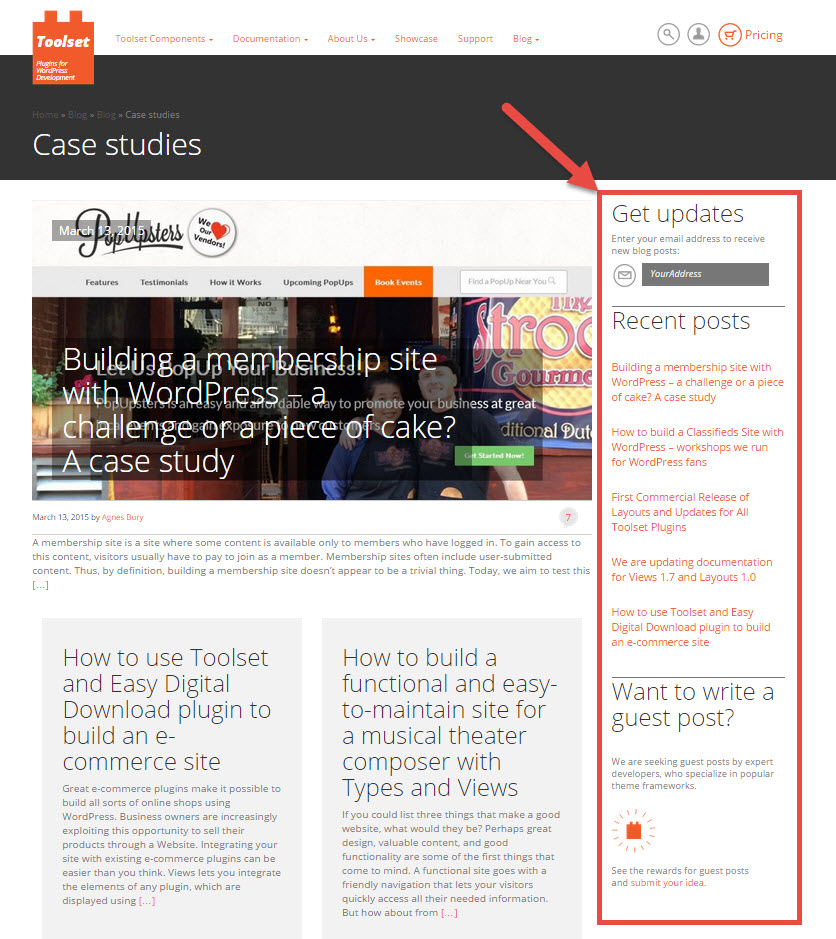
Let us assume that we want to create a simple layout for our posts, which features header and footer areas at the top and bottom, respectively. It also features an area for the main content in the middle. We want the main content area to have the post contents on the left and a sidebar on the right, as follows:
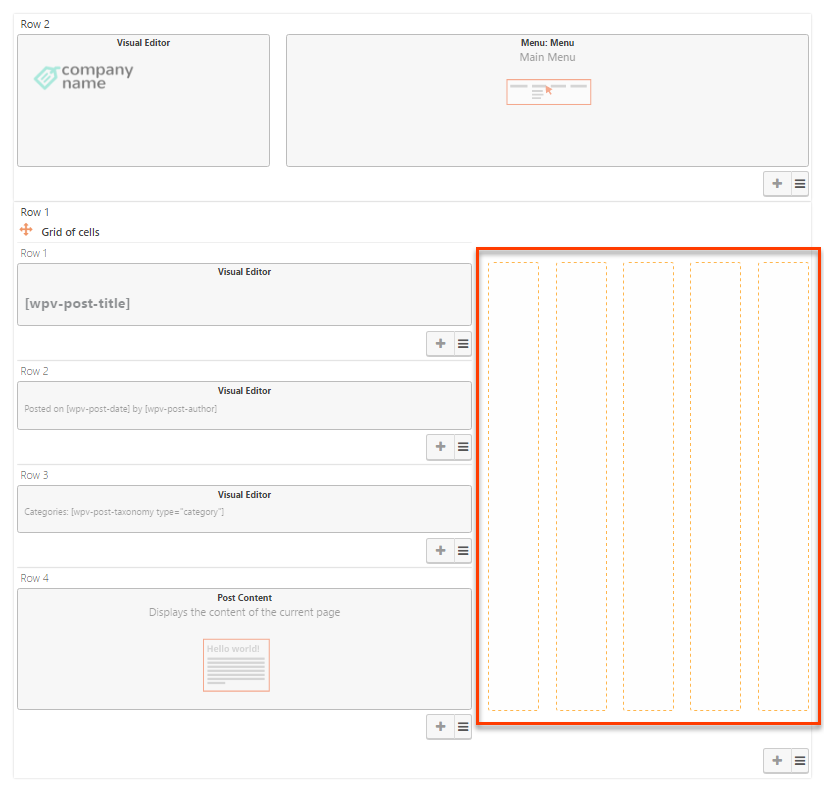
We want to display several widgets in the sidebar, so we need to split it vertically, which we achieve using a cell called Grid of cells. Next, we can add several widgets (or any other type of cell) to the sidebar.
| After you insert a Grid of cells, choose the initial numbers of columns and rows for the grid. You can always add more rows to an existing grid later. | 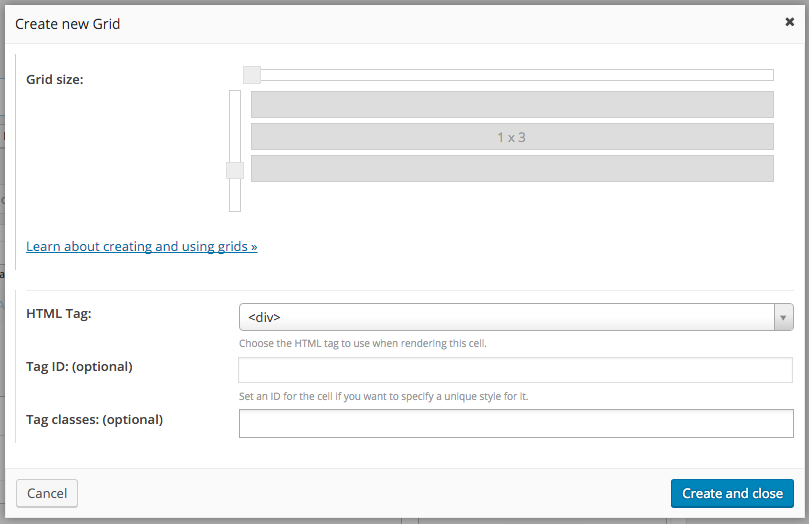 |
| Your sidebar area will contain a new grid. | 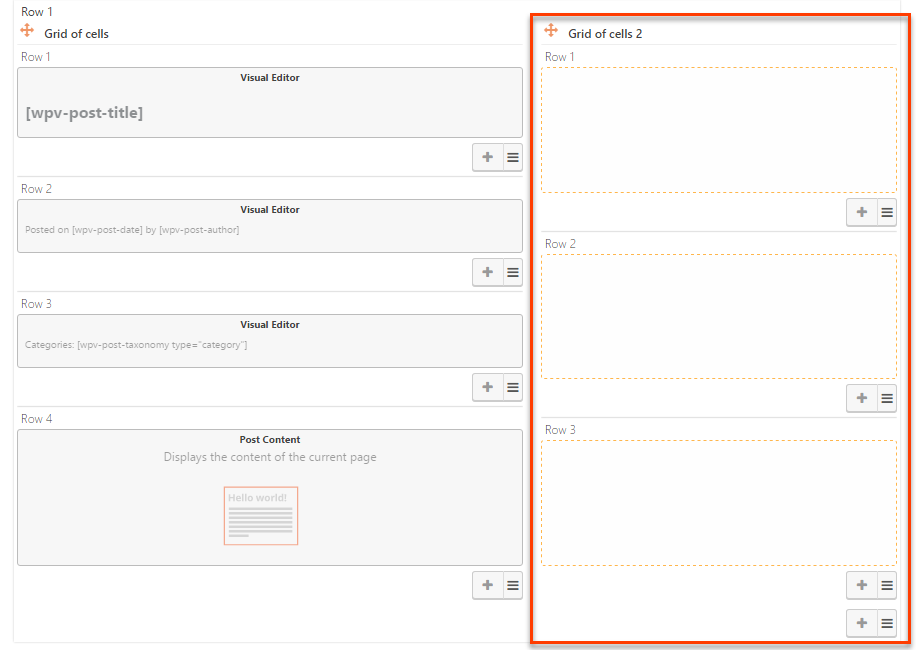 |
| Insert cells into the grid. You can use a widget area, Views, single widgets, or any other Layouts cell. | 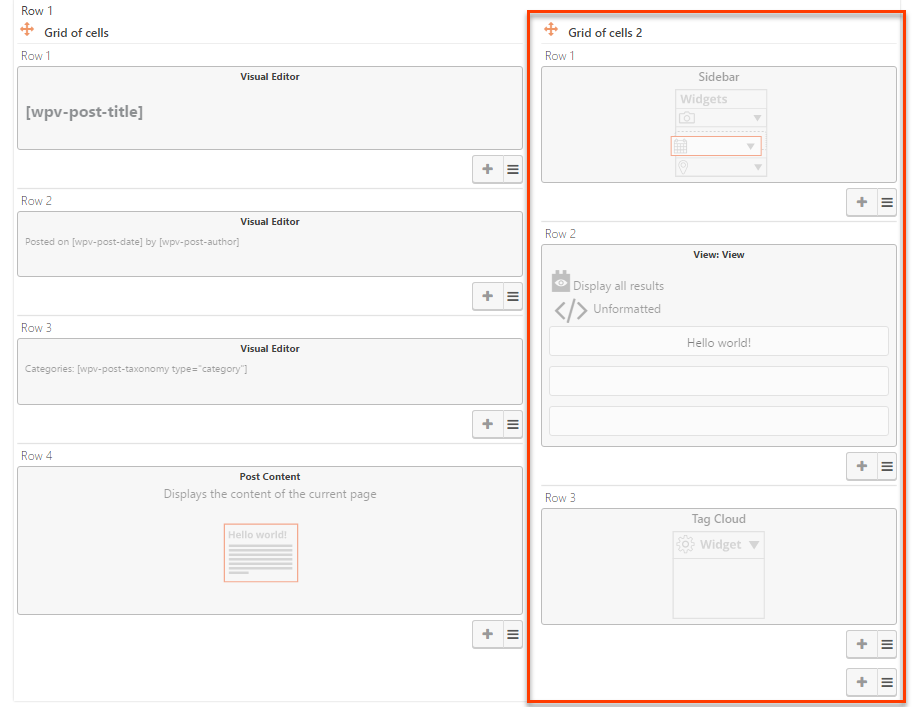 |
| You can always add more rows to your sidebar by clicking on one of the plus buttons inside the grid of cells. | 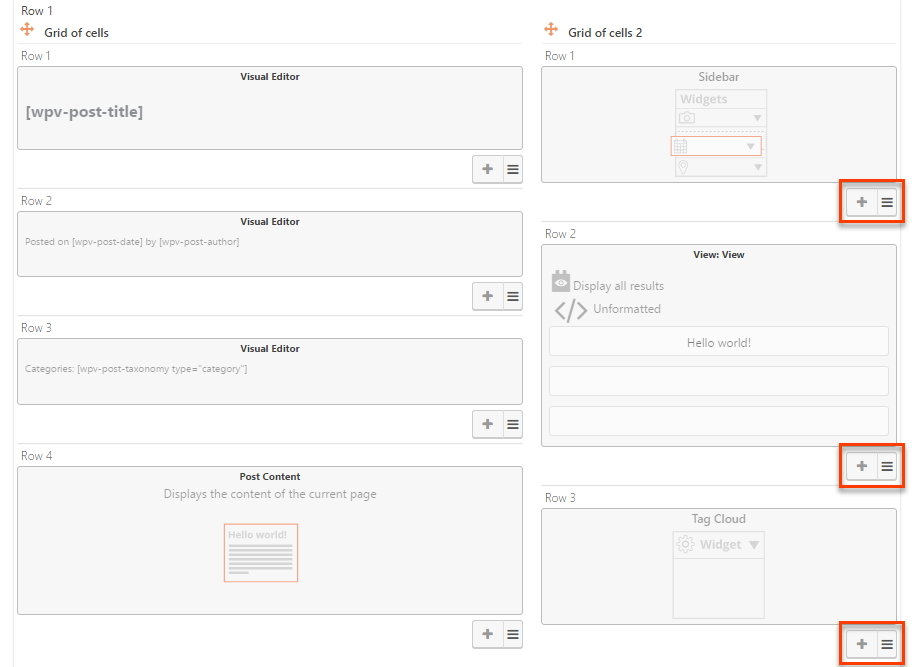 |
That’s it. You’ve just added a sidebar area to a layout. You can use the Grid of cells anywhere in the layout to split cells into multiple rows and columns.