Toolset allows you to build custom membership sites, by providing the building blocks. You’ll learn how to put them together and implement the exact functionality that you need.
What you’ll learn in this membership sites course
- How to set-up roles for the site’s members
- How to allow people to sign-up and become members
- How to set-up custom content, which you can restrict to members only
- How to create lists of content using Views
- How to display content differently to visitors and to members
- How to build custom searches
- How to build the homepage for membership sites
- How to set up the custom “My Account” page
Requirements
- Good understanding of WordPress fundamentals
- No prior experience with building directory and classifieds sites
- No programming experience
Course material
-
Chapter #2
Custom Content Types for Membership Sites- 1. What Are Custom Types and How They Work
- 2. When and Why You Should Use Custom Types
- 3. Using Custom Fields vs. Taxonomy
-
Chapter #3
Setting up custom post types, fields and taxonomy needed for membership sites- 1. Creating a Custom Post Type
- 2. Creating Custom Fields
- 3. Creating a Custom Taxonomy
- 4. Adding Custom Posts
-
Chapter #4
Setting up custom roles for site members- 1. Setting up Custom Roles for Members
- 2. Grant Privileges to Content Managers
-
Chapter #5
Creating the form for member sign-up- 1. Creating Forms for Registering Users
- 2. Send Notifications when Someone Submits the Form
- 3. Charge users for registering premium accounts
- 4. Using the WooCommerce Subscriptions plugin with Toolset
- 5. Controlling Access to Front-End Forms
- 6. Styling Front-End Forms
- 7. Extending Form Functionality with Hooks
-
Chapter #6
Member login and account management- 1. Creating a “My Account” Page
- 2. Restricting access to pages
- 3. Creating Custom Login Forms
- 4. Creating the “Lost password” page
- 5. Using forms to create an “Edit your profile” page
-
Chapter #7
Templates for Visitors and Members- 1. Creating templates to display members-only content
- 2. Assigning Templates to Posts Conditionally
- 3. Display Content Conditionally
-
Chapter #8
Listing Content in Membership Sites- 1. Creating a View
- 2. Creating a Custom Archive Page
- 3. Creating a Custom Search
- 4. Displaying Search Results on a Different Page
-
Chapter #9
Using Post Relationships on Membership Sites- 1. What Are Post Relationships and How They Work
- 2. How to set up Post Relationships in WordPress
- 3. Displaying Related Posts
- 4. Front-End Forms for Connecting Related Posts
-
Chapter #10
Translating Membership Sites- 1. How to Prepare the Site to Run Multilingual
- 2. Translating the Content
- 3. Translating Content Automatically
- 4. Translating Views, Content Templates, Archives and Forms
- 5. Translating Repeatable Field Groups
- 6. Translating Related Content
- 7. Translating the Content Editing Interface
Why Build Membership Sites with Toolset
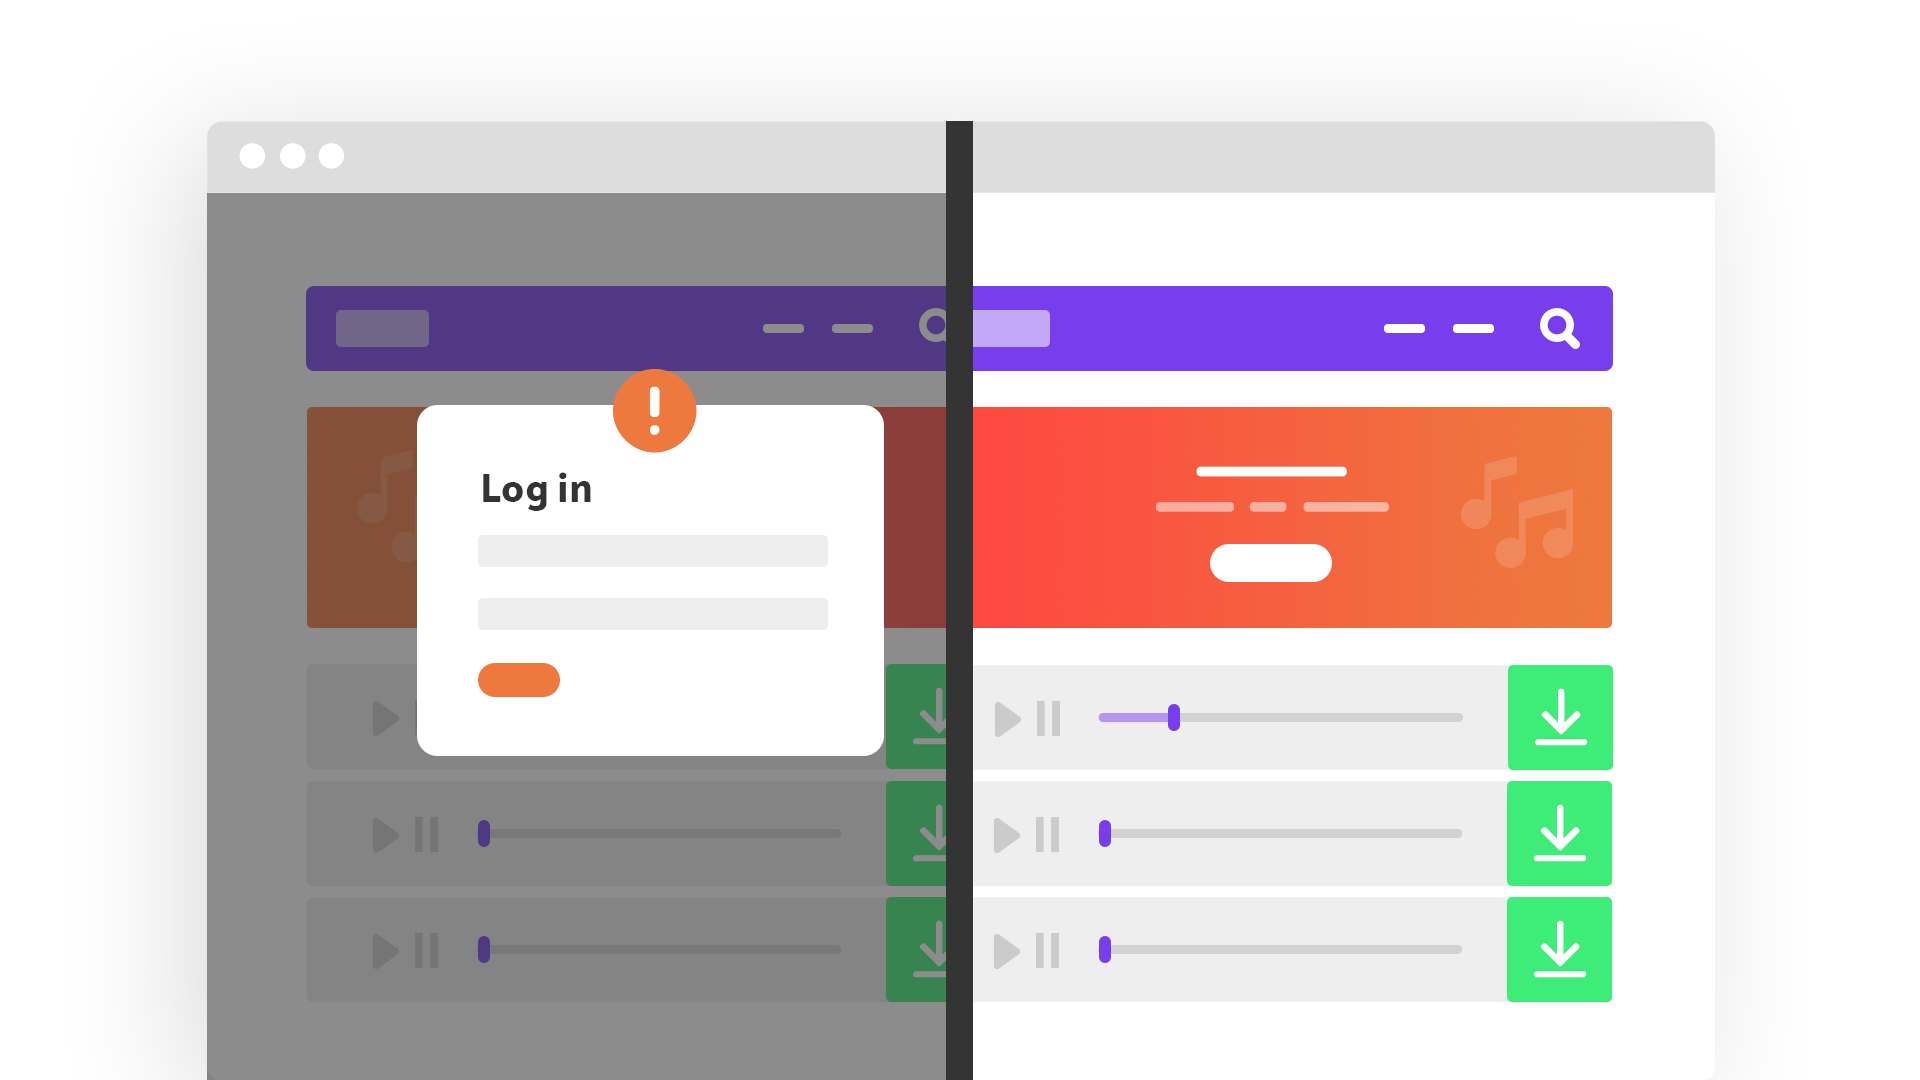
Even though there are many themes and plugins that offer “membership” functionality, when you build a site, you often discover that “nothing out there is doing exactly what I need”. This is where Toolset comes into the picture. With Toolset, you build the exact functionality that your site requires.
You have full control over the content types in the site. You control how content displays for both visitors and members. You control the registration flow and you can create custom “my account” sections for your site’s users.
Since Toolset lets you build everything yourself, there’s a learning curve. However, once you’ve mastered the tool, you save countless hours. Instead of using an endless list of plugins, add-ons and hacks, you’ll get everything from Toolset.
Take this course for FREE using Toolset’s training sandbox
This course is free for both Toolset clients and anyone new to Toolset.
You can watch all the videos and follow the course without buying or installing anything.