Any page builder allows you to create grids and insert text and images within the grids. Layouts and Views plugins allow you to create dynamically generated grids that display content from posts. In this tutorial, we demonstrate the use of the View cell in a layout to display responsive content-driven grids.
| Posts that we want to display | Posts displayed on the front-end as a grid |
|---|---|
 |
 |
You can easily add a grid of posts to a layout design using a View, but let’s first see what a View is.
View – custom list of posts
A list of posts or even pages and users for that matter, is called a View. It can display content with any HTML, media, links, fields, and taxonomy.
For example, you can easily list five of the latest posts belonging to the “News” custom post type. You can display this list in any part of your site, for example on your homepage or in the sidebar.
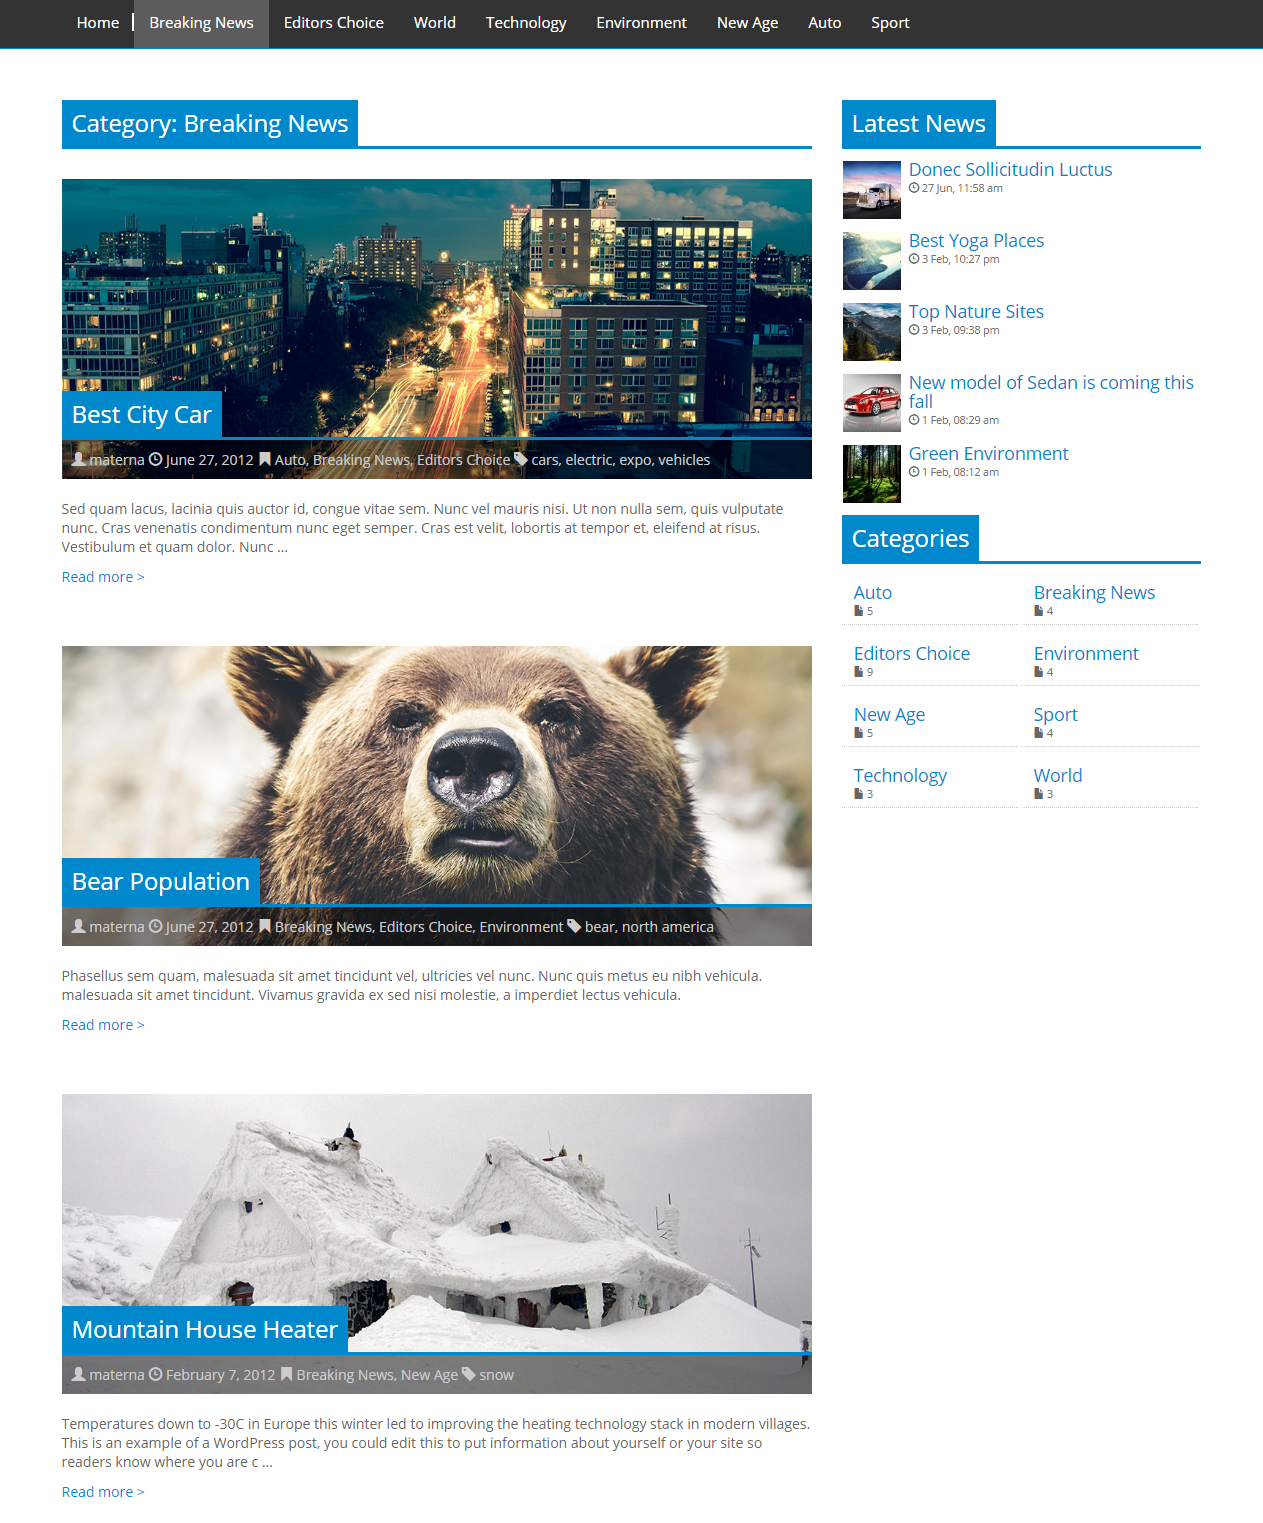
The following image displays a page using two Views: one for the main list of “Breaking News” and the other in the sidebar listing for “Latest News.”
Visit our documentation page to read more about Views.
Adding a View to a layout
Let’s see how a list of posts can be added to a layout. The process outlined in the following table is the same for any type of layout.
| Step | Screenshot |
|---|---|
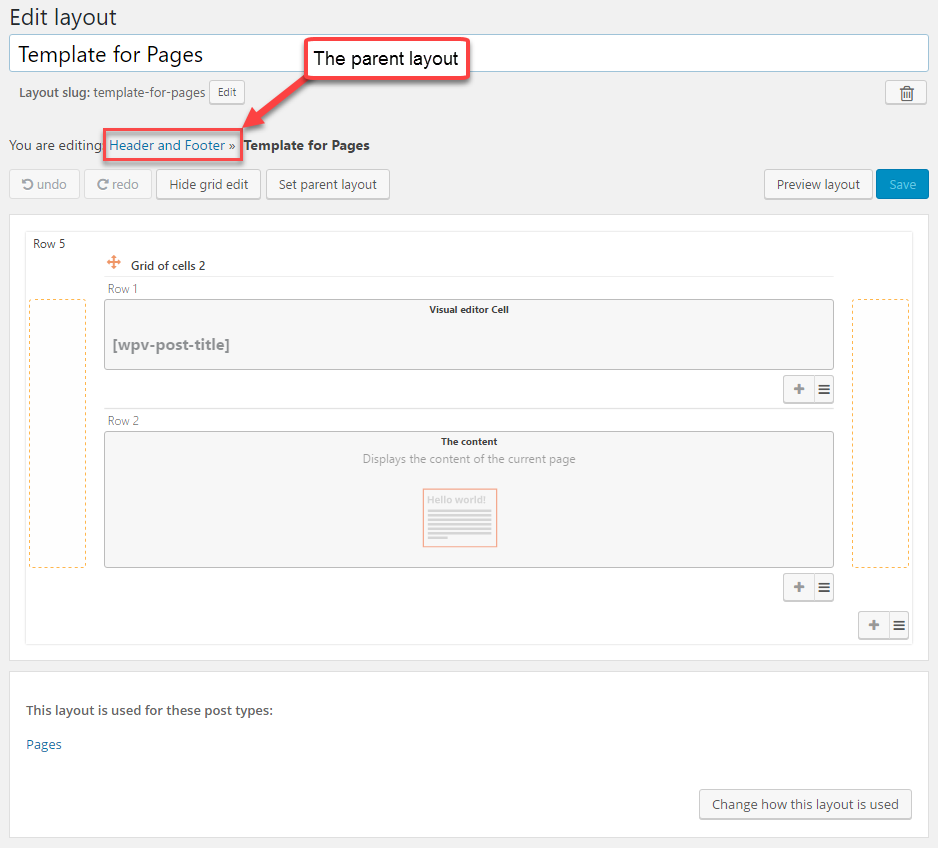
| You start with a layout. Our example is a very simple one with a Visual Editor cell for the post title and The Content cell for outputting the page’s body.
Please note that we use a parent layout for all the parts of our site that are repeated, such as the header and the footer. |
 |
| If we wish to insert a list of posts on the latest News in the sidebar, we move our content to the left in order to make space for the insertion. | 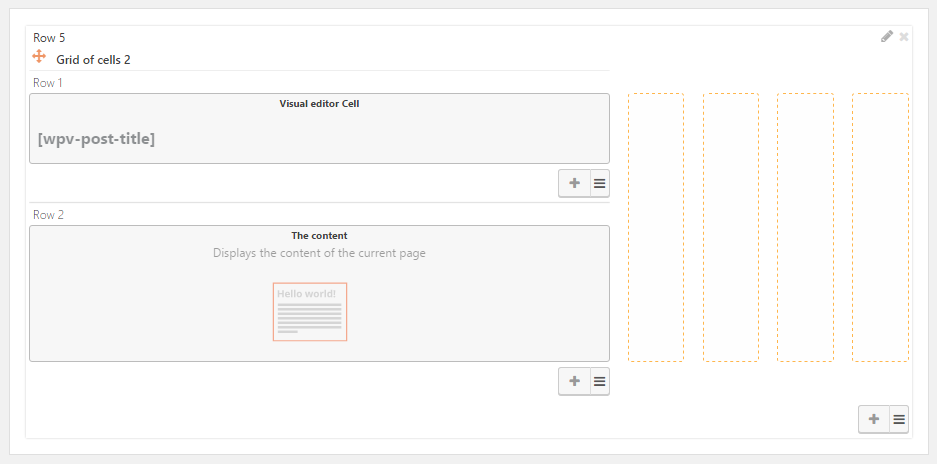 |
| We start by inserting a View cell. | 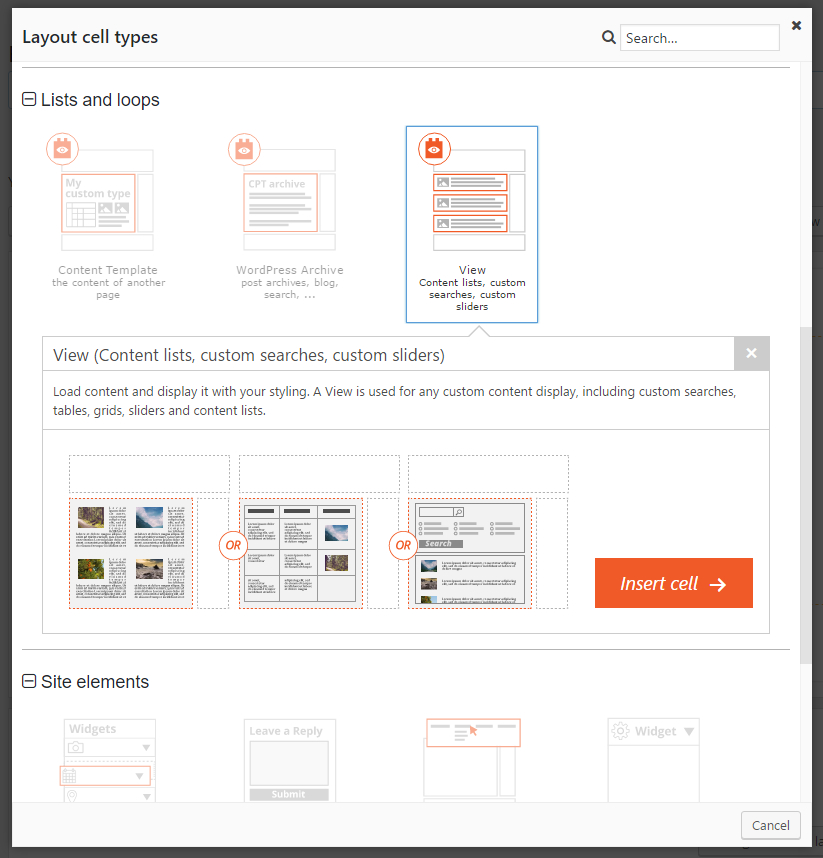 |
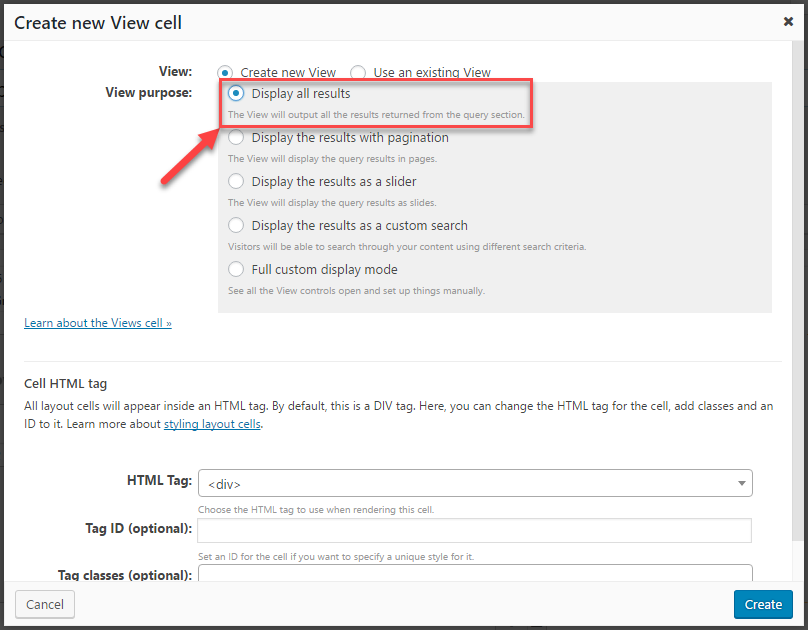
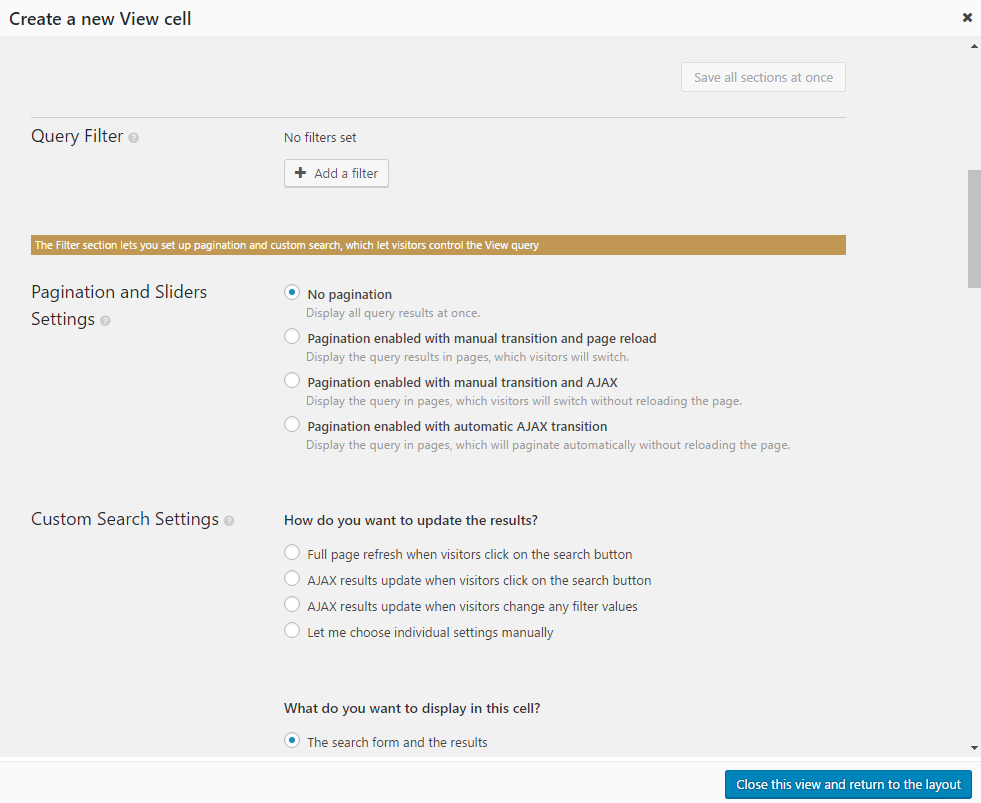
| In the dialog box that appears, we select the Display all results as the View purpose. For grids, you can also select the second option, i.e., Display the results with pagination. This will provide you with additional options to split your list of posts into separate pages. |
 |
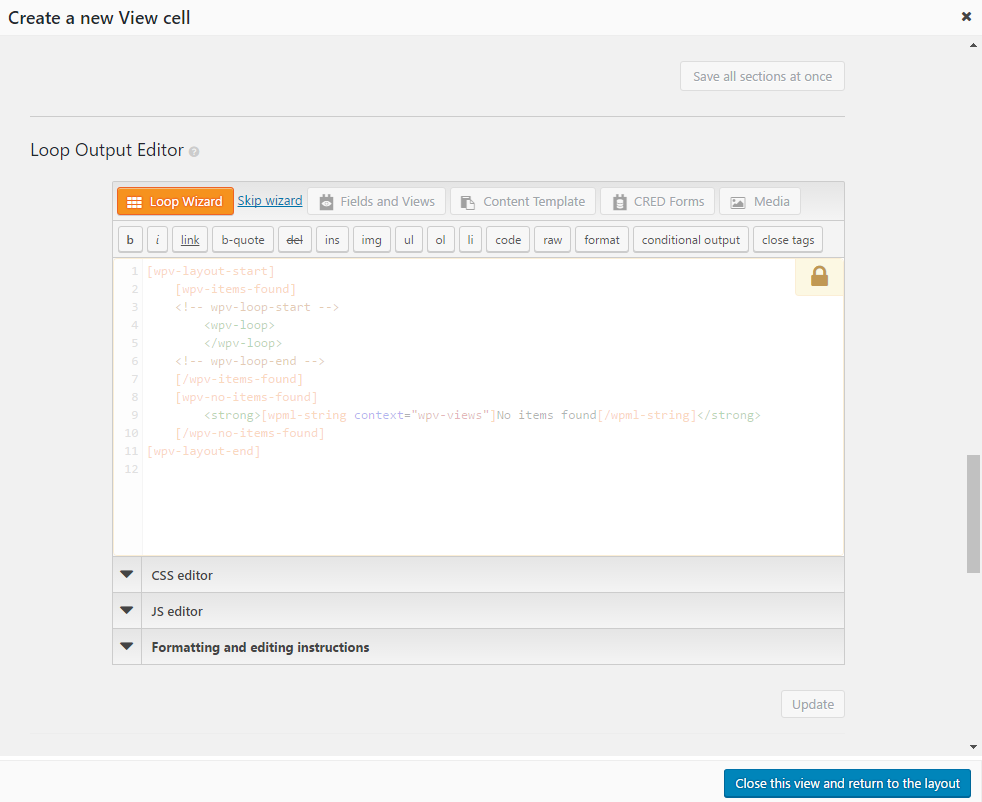
| A dialog box with the View editor opens displaying all of its options and content.
In our example, we want to output the four latest posts belonging to the “News” post type. |
 |
| Now, we scroll down to the Loop Output Editor section and click on the Loop wizard button. Loop wizard takes us through a few simple steps to set up the way in which our list of posts will be output on the front-end. |
 |
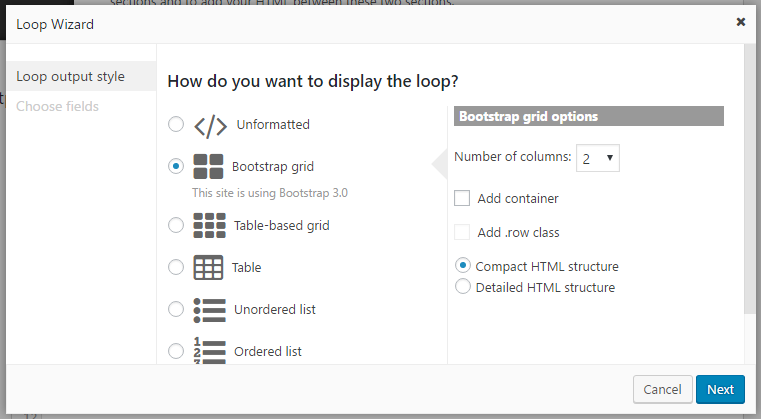
| In the first step of the Loop wizard, we select the list of posts to be output in a Bootstrap grid with two columns.
Naturally, you can use the other available listing styles if needed. |
 |
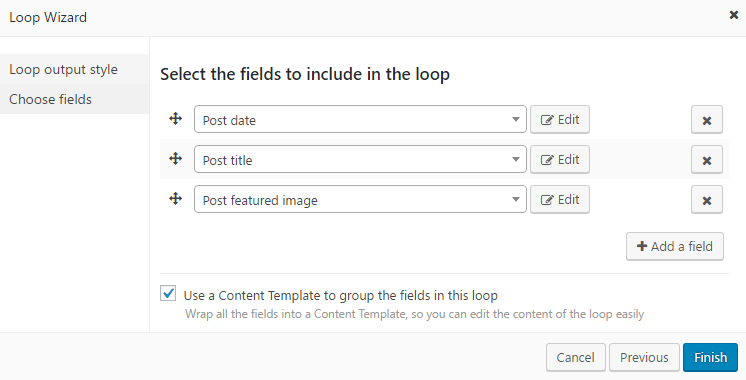
| In the second and last step of the wizard, we add the post fields we want to display for our latest “News.” In our example, we added post title, date, and featured image.
When you are done, click on Finish to close the wizard. You can also scroll to the bottom of the View editor and click on Save and Close this View and return to the layout. |
 |
We have created a View that lists five of the latest posts belonging to the “News” post type. The following image displays the results on the front-end.

As you can see, our posts are arranged in a two-column grid. This grid is also responsive, which means that it will be displayed correctly on any device.
To enhance the visual appearance of this View, we added some CSS styling to it. You can learn how to do this on our page about adding custom CSS styling to Views.
Visit our dedicated documentation page to learn more about creating and using Views.