The Types plugin allows you to easily add custom post types, fields, and taxonomy to the WordPress admin. In this document, we show you how to design PHP templates for displaying this custom content on the front-end. If you want to avoid PHP, you can use the complete Toolset suite and build entire sites without programming.
When you create your own custom post type, WordPress uses the single.php file to render the contents (display on the front-end) of the custom posts. This means that by default, custom types will display with only their title, body, and comments.
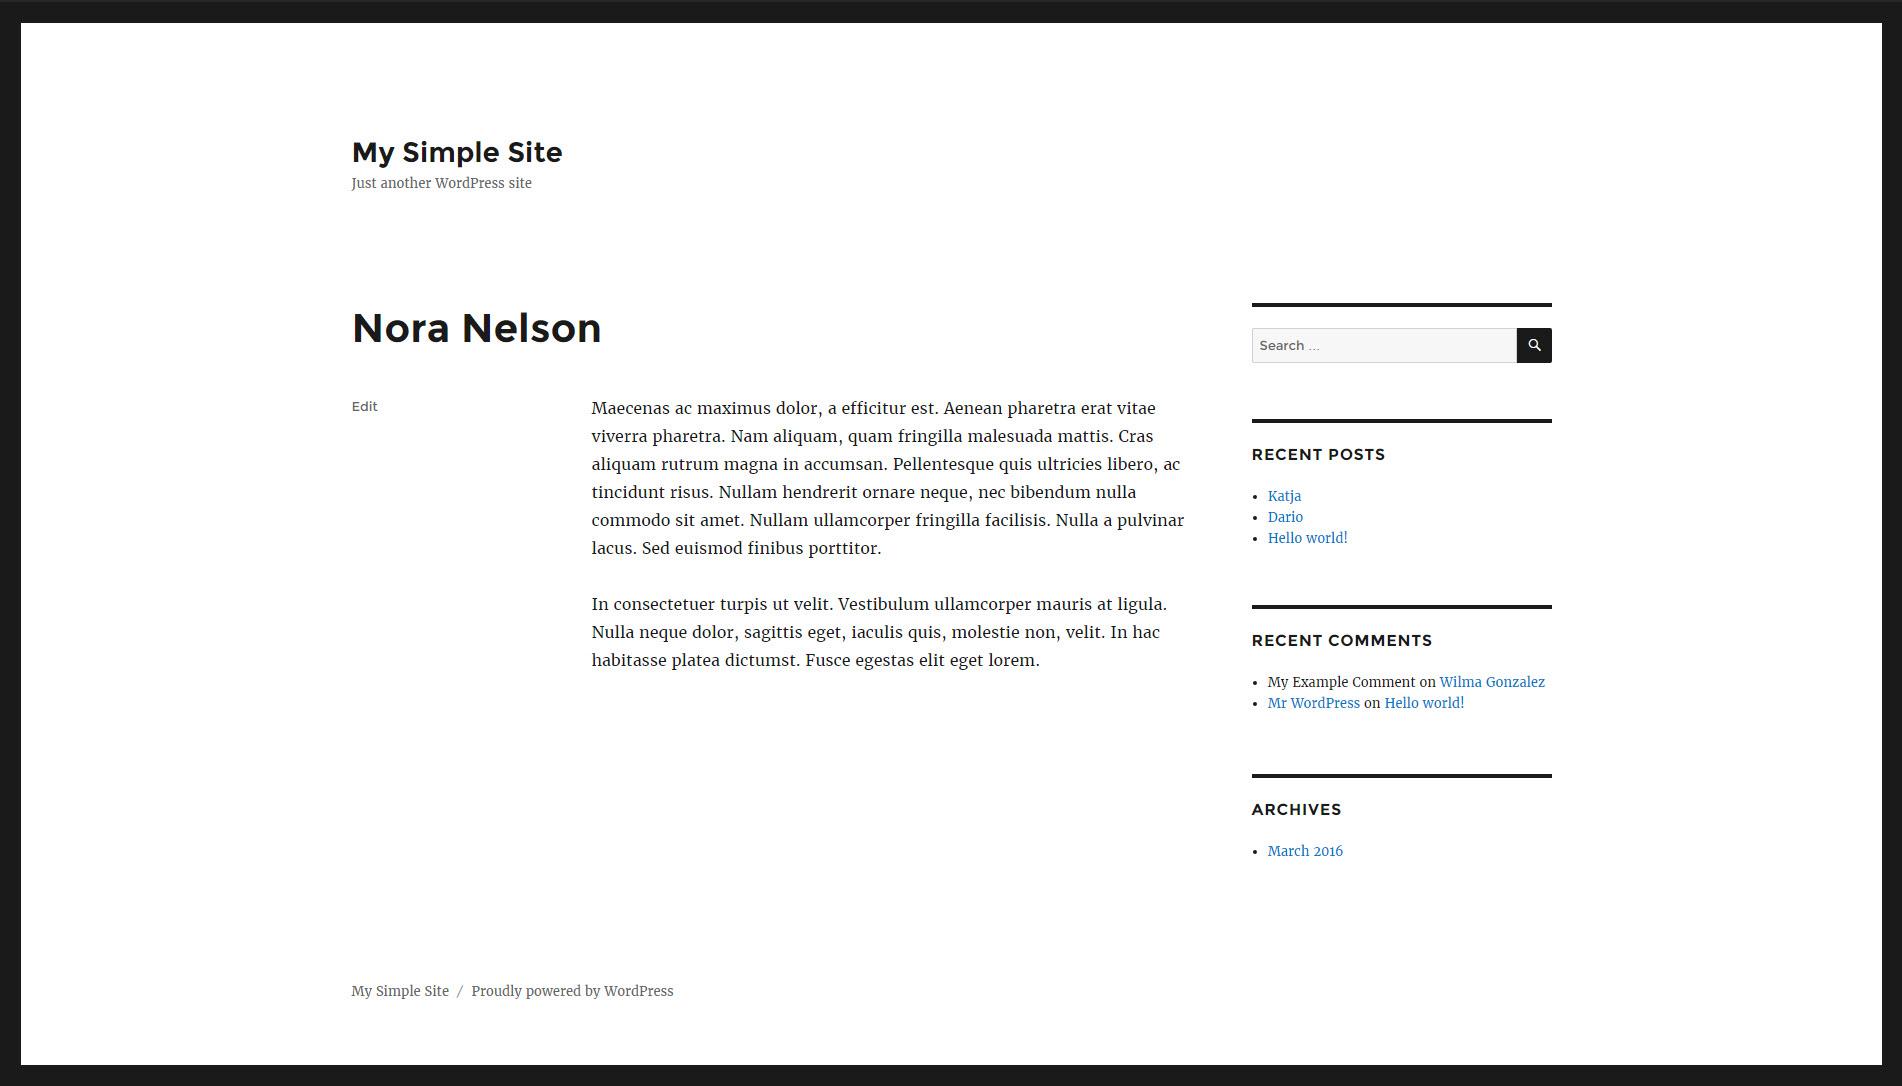
Preferably, you should always create your own template for custom post types. Your template will display the fields that you need in the manner you wish to display them.
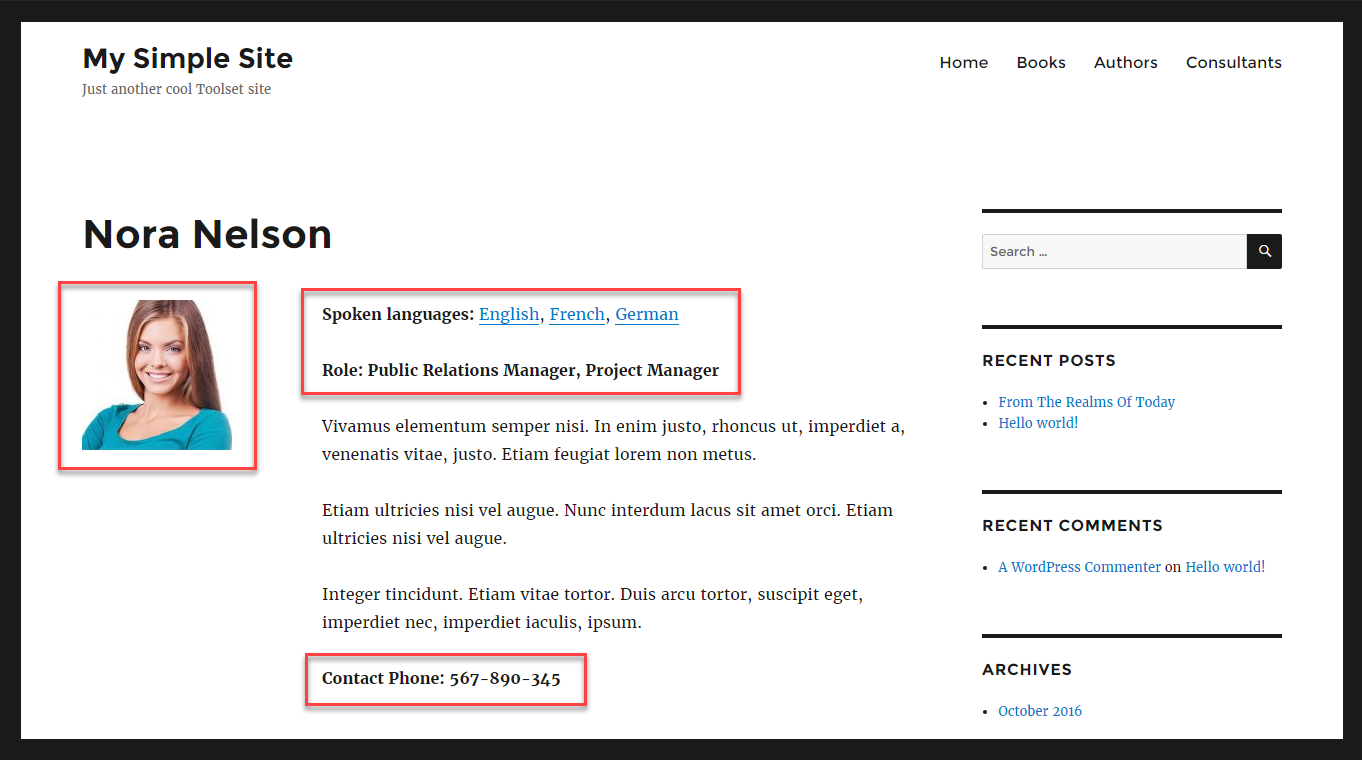
The following image shows how information about our consultant is displayed using a very simple custom template.
You can create templates for custom post types in two ways:
- Use only one single.php file and create template parts for each custom type
- Provide a single-CPT_SLUG.php for each custom post type in your site
The first option, using template parts, is generally preferred, because it avoids code duplications. Some themes do not use template parts; therefore, for these themes, it is easier to override the single.php file for each custom type.
For a complete reference, visit the WordPress template hierarchy documentation.
Using template parts for custom post types
The default WordPress themes use template parts and are considered a good reference for building quality themes.
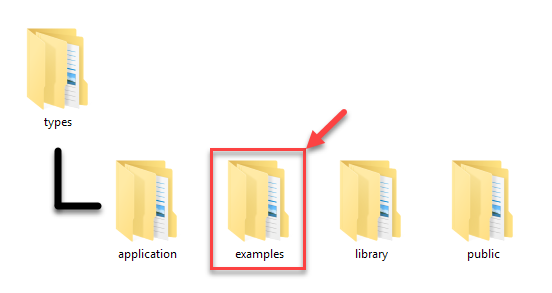
To view a fully documented example of PHP templates, based on parts, go to the examples folder in Types plugin and search for the content-consultant.php file.
The Twenty Sixteen’s single.php file automatically loads the template parts for the single custom posts. It does so using the get_template_part() function.
Please note that you can use the same template part to display contents of a single custom post as well as the archive page of the same post type.
Creating template parts with your custom fields and design
The template part file outputs the different elements that belong to a page. These include standard WordPress fields (such as the post title), navigation, custom fields and taxonomy, comments, and sidebars.
To create a template part for your custom types, start by making a copy of one of the template parts that come with your theme. In the default WordPress themes, template parts are stored in the template-parts folder. You can start from content-page.php or content-single.php and create a copy for your custom post types.
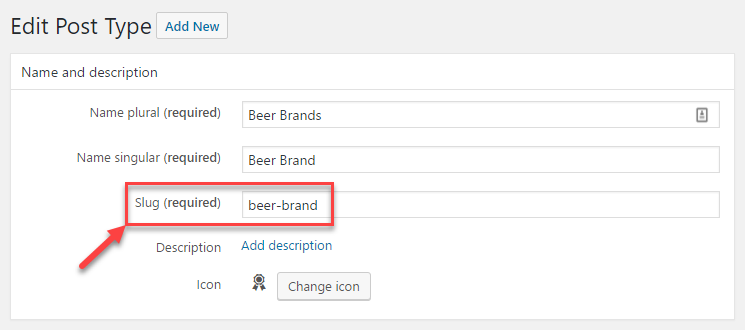
If the custom post type is called “Beer brands” and the slug is “beer-brand,” the template part should be called content-beer-brand.php (or if you are not using template parts, the template will be called single-beer-brand.php).
When you look at our example template part (content-consultant.php), you will see comments about what each section does. The API functions that you will see include:
| Element | What it does |
|---|---|
| the_title | Output the post’s title |
| esc_url( get_permalink() ) | Output the link to the current page in a secure way |
| the_content | Output the post’s body |
| types_render_field* | Output the value of a custom field |
| wp_link_pages | Output page navigation links |
| edit_post_link | Output links to edit the page for users with the right capabilities |
| get_the_term_list() | Output links to all taxonomy terms that the post is associated with |
* Types_render_field is obtained from the Types PHP API. This is not a standard WordPress template function and is available only when you use Toolset.
The following is the example of the whole template part for displaying our consultant custom posts.
<?php
 *
 * The template part for displaying Consultant post content
 *
 * @package WordPress
 * @subpackage Twenty_Sixteen
 * @since Twenty Sixteen 1.0
 */
?>

<!-- Standard Twenty Sixteen article header output -->
<article id="post-<?php the_ID(); ?>" <?php post_class(); ?>>
	<header class="entry-header">
		<?php if ( is_sticky() && is_home() && ! is_paged() ) : ?>
			<span class="sticky-post"><?php _e( 'Featured', 'twentysixteen' ); ?>
		<?php endif; ?>

		<?php the_title( sprintf( '<h2 class="entry-title"><a href="%s" rel="bookmark">', esc_url( get_permalink() ) ), '</a></h2>' ); ?>
	</header><!-- .entry-header -->

	<?php twentysixteen_excerpt(); ?>


<!-- TYPES TIP: Custom call to Types function to render a custom field "Consultant Photo" -->
	<?php echo types_render_field( "consultant-photo", array( "size" => "thumbnail" )); ?>


	<div class="entry-content">

<!-- TYPES TIP: Custom call to get_the_term_list function to display a list of taxonomy terms that the current "Consultant" post belongs to -->
	<?php echo get_the_term_list( $post->ID, 'spoken-language', '<p><strong>Spoken languages: </strong>', ', ', '</p>'); ?>


<!-- TYPES TIP: Custom call to Types function to render a custom field "Consultant Roles" -->
		<p><strong>Role: <?php echo types_render_field( "consultant-roles" );  // Call to Types function for rendering a custom field "Consultant Roles" ?></strong></p>


<!-- Standard Twenty Sixteen content output -->
		<?php
			/* translators: %s: Name of current post */
			the_content( sprintf(
				__( 'Continue reading<span class="screen-reader-text"> "%s"', 'twentysixteen' ),
				get_the_title()
			) );

			wp_link_pages( array(
				'before'      => '<div class="page-links"><span class="page-links-title">' . __( 'Pages:', 'twentysixteen' ) . '',
				'after'       => '</div>',
				'link_before' => '<span>',
				'link_after'  => '',
				'pagelink'    => '<span class="screen-reader-text">' . __( 'Page', 'twentysixteen' ) . ' %',
				'separator'   => '<span class="screen-reader-text">, ',
			) );
		?>


<!-- TYPES TIP: Custom call to Types function to render a custom field "Consultant Contact Phone" -->
		<p><strong>Contact Phone: <?php echo types_render_field( "consultant-phone-number"); ?></strong></p>
	</div><!-- .entry-content -->


<!-- Standard Twenty Sixteen content footer output -->
	<footer class="entry-footer">
		<?php twentysixteen_entry_meta(); ?>
		<?php
			edit_post_link(
				sprintf(
					/* translators: %s: Name of current post */
					__( 'Edit<span class="screen-reader-text"> "%s"', 'twentysixteen' ),
					get_the_title()
				),
				'<span class="edit-link">',
				''
			);
		?>
	</footer><!-- .entry-footer -->
</article><!-- #post-## -->
Displaying custom taxonomy
With Types, you can easily create custom taxonomies to better organize your content. When displaying a single custom post, you will often want to display terms that the post belongs to, including links to those terms, so visitors can use the term archive to find similar contents. In our example, we added the “Spoken Languages” taxonomy to our “Consultants” post type. Each available language is a term of that taxonomy.
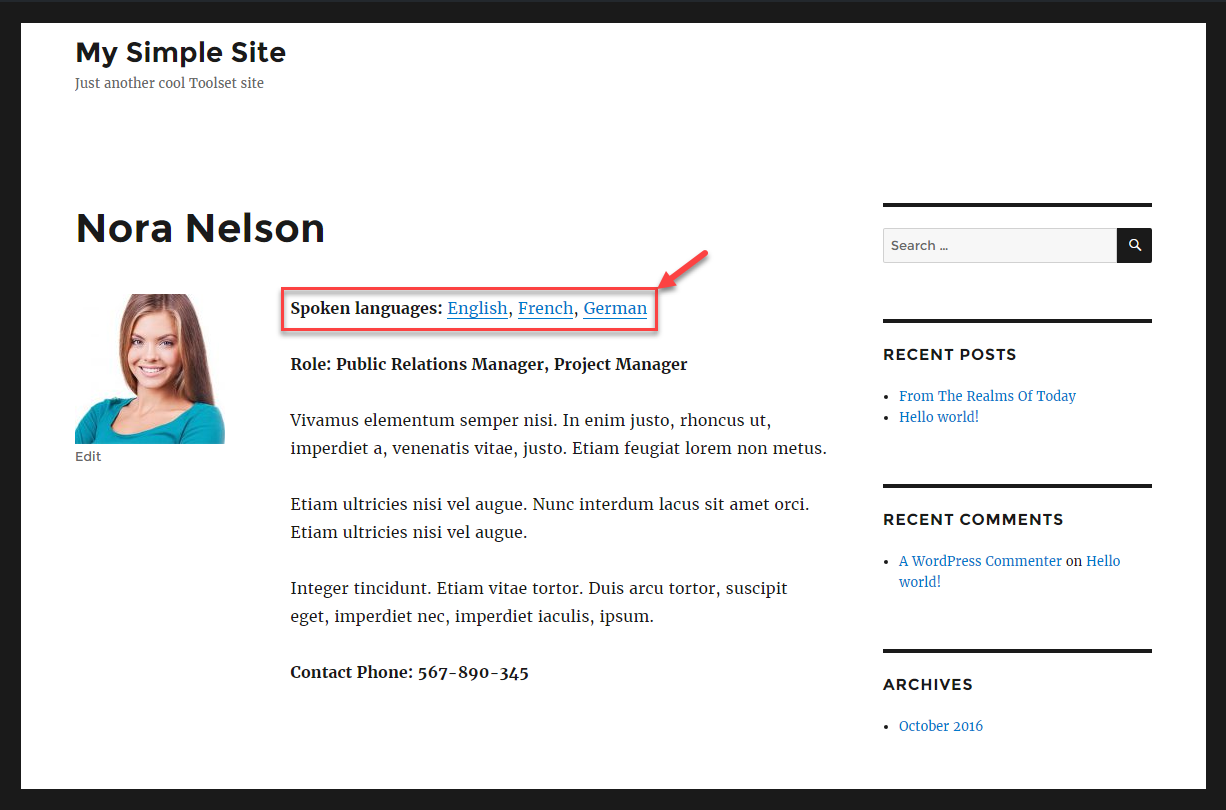
To display a list of terms that a current post belongs to, you need to use the get_the_term_list() WordPress function. The following code outputs terms belonging to a “Spoken languages” taxonomy:
echo get_the_term_list( $post->ID, 'spoken-language', '<b>Spoken languages: </b>', ', ', '');
Let us break down the parameters that we used:
- $post->ID – we first need to specify the ID of the post whose terms we wish to obtain. Since we are inside a loop, this will retrieve the ID of the current post.
- spoken-language – we also need to specify the taxonomy from which we want to obtain the terms. Note that we need to use the taxonomy slug.
- <p><b>Spoken languages: </b> – the third parameter simply allows you to specify content that should precede the list of taxonomy terms. In our case, we used simple HTML to prepend the list with a label.
- The fourth parameter is used to specify the separator that will be placed between output terms. In our case, we simply used a comma followed by a space.
- The last parameter allows you to specify any content that will be output just after the last term. This is useful for closing open HTML tags.
Here, we used the arguments in their basic form. However, you can customize them to wrap the output in any HTML tag, allowing you to add custom styling of your choice.
Displaying related posts
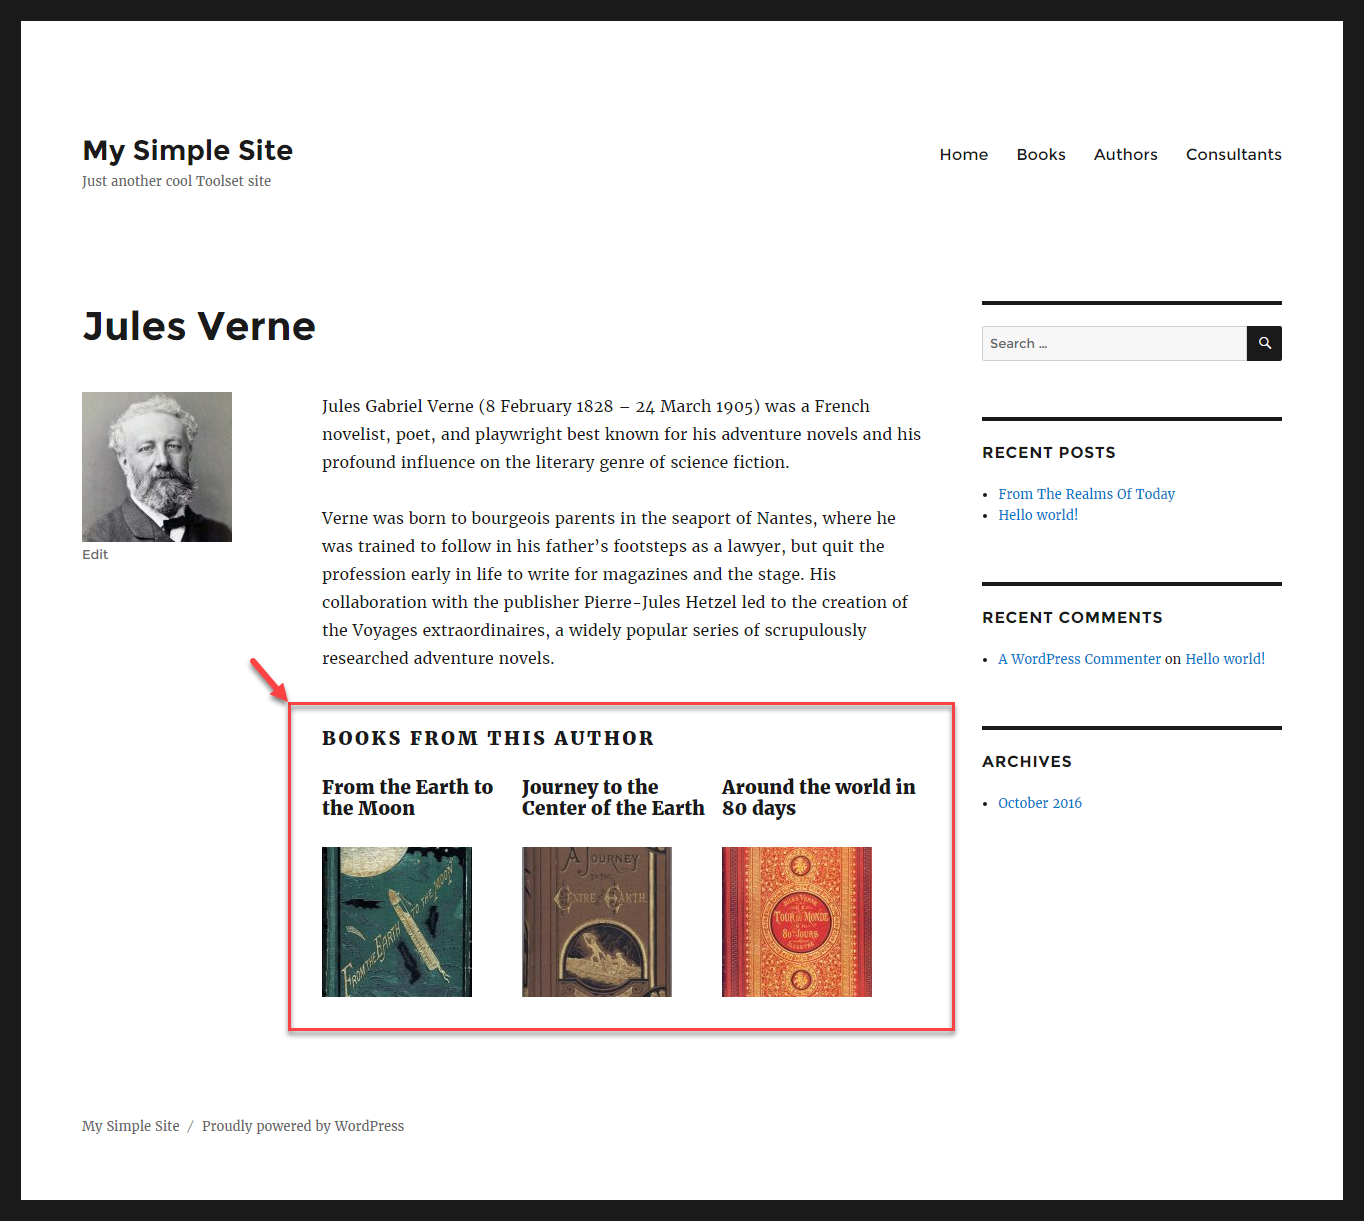
The Types plugin allows you to connect related custom post types, so that multiple posts of one type are “children” of the other post type. This is also called post types relationships.
When displaying your custom posts, you will often want to display at least some content from related posts.
For example, one author can write many novels. Therefore, the “Author” post will be the parent of multiple “Book” posts. When you display the post about an author, you will want to display a list of books belonging to that author. To learn how to do this with your own custom post types, please visit our page on displaying child items.
Similarly, when displaying a post about a particular book, you can display its author and some additional information about them. To learn how to do this with your own custom post types, please visit our page on displaying the parents of posts.
Creating the template files without “template parts”
In this tutorial, we explained how to build templates based on “template parts.” Some themes do not use template parts. In this case, you can create a separate PHP template for each custom post type.
To do this, you need to create a PHP file in your theme’s folder. It needs to be called single-post_type_name.php where post_type_name is the slug of our custom post type.
Wrapping up
As you can see, creating templates for single custom posts in PHP affords you powerful possibilities; however, it is not easy for beginners. It is also a time-consuming process for most people.
This is where Toolset can help you. With Toolset, you can build custom templates without PHP coding.