This guide teaches you how to migrate from a custom database design with different tables into WordPress. Why? Because WordPress includes all of the essential building blocks. Instead of having to code an entire site from scratch, you will use a modern CMS which does the hard work for you.
If you prefer video over text check out our video below
What We’re Going to Accomplish
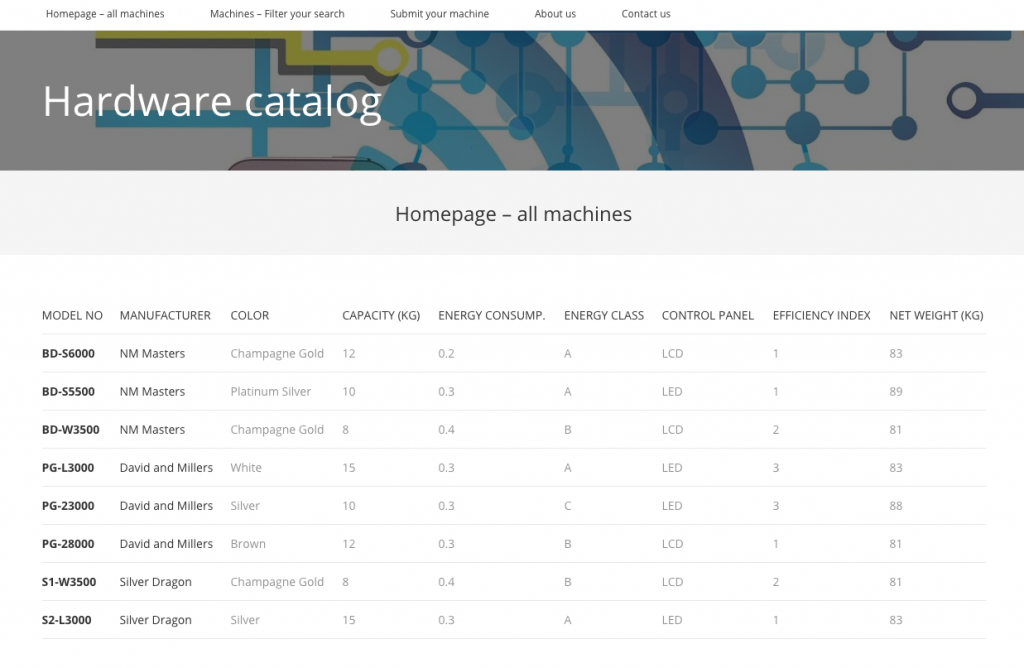
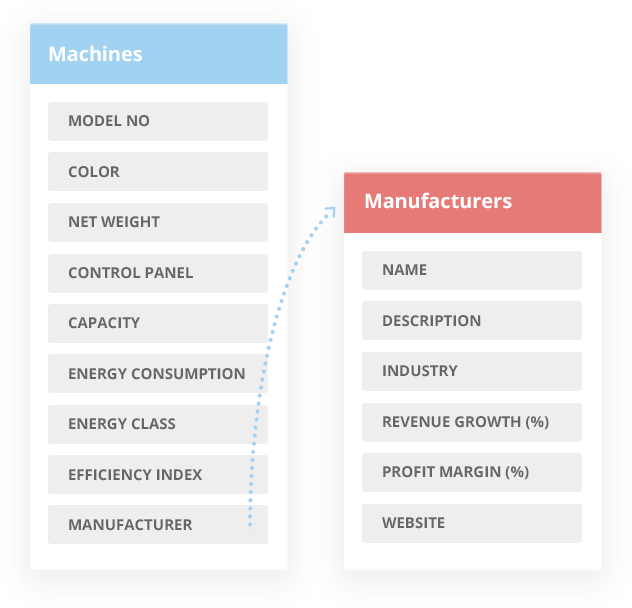
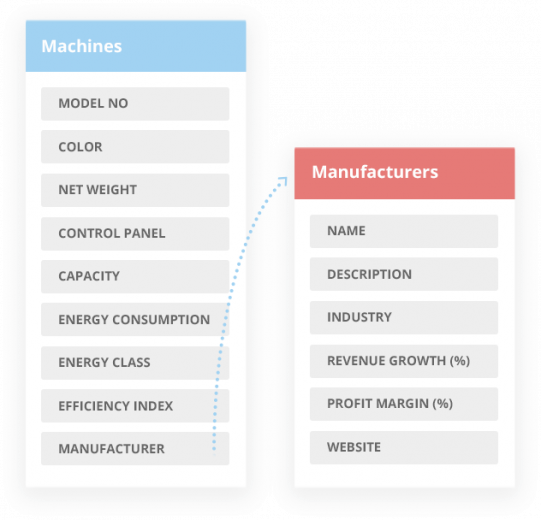
As an example, we will use a hardware catalog website. The catalog (database) has ‘machines’ and ‘manufacturers’.
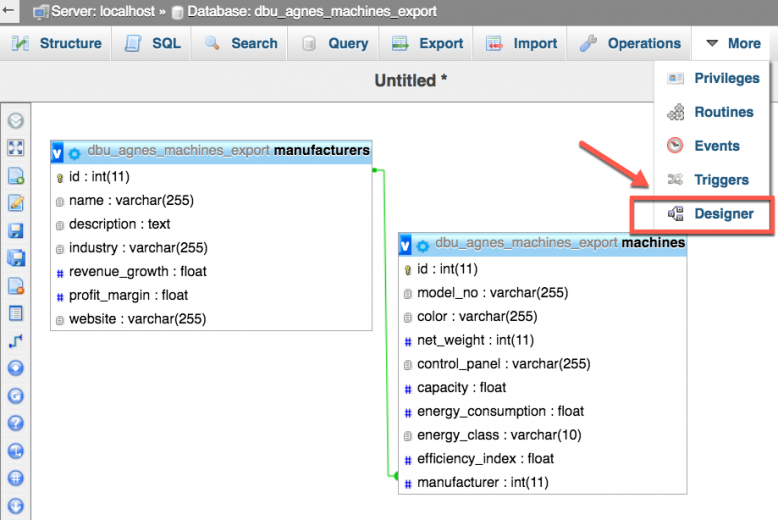
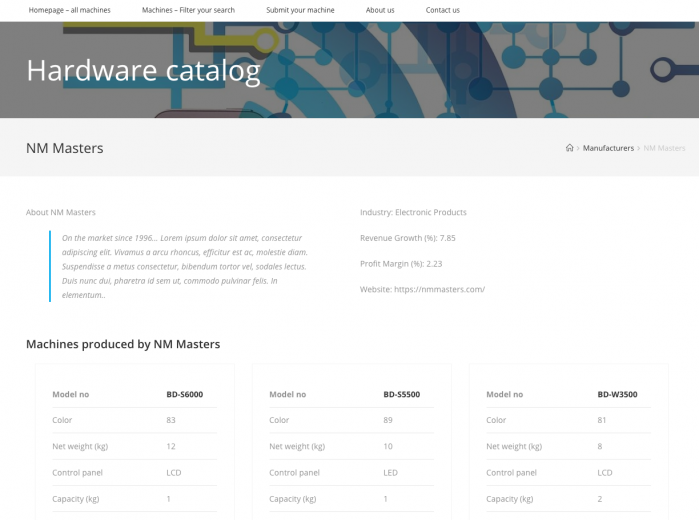
The ‘machines’ and ‘manufacturers’ are naturally connected.
We’re going to migrate this into WordPress and keep the exact same content structure that you have today. When we’re done, you will be using convenient editing screens for the different types of content. You’ll build templates that display your content in any way you choose.
Installing WordPress, Choosing a Host and a Theme
If you’re going to move your existing site into WordPress, you need to have a WordPress site to migrate to. This is an advanced tutorial, so we’re assuming that you’re familiar with the basics.
We use a number of WordPress plugins for this migration. You can find the list of plugins with download instructions at the end of the tutorial.
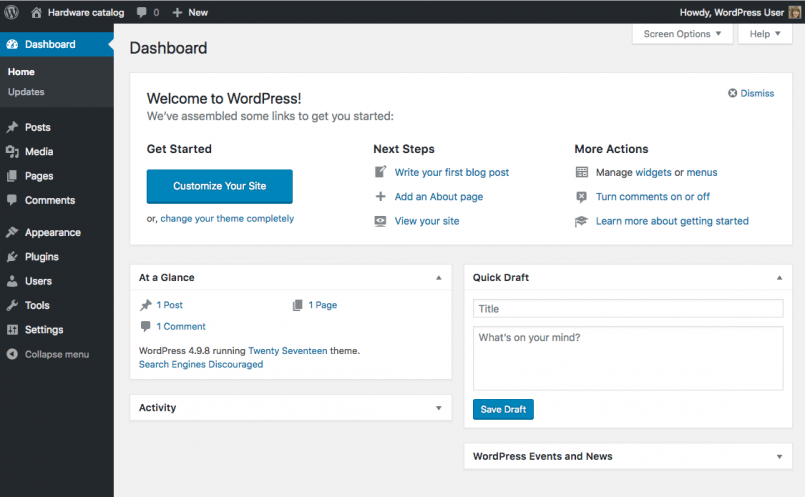
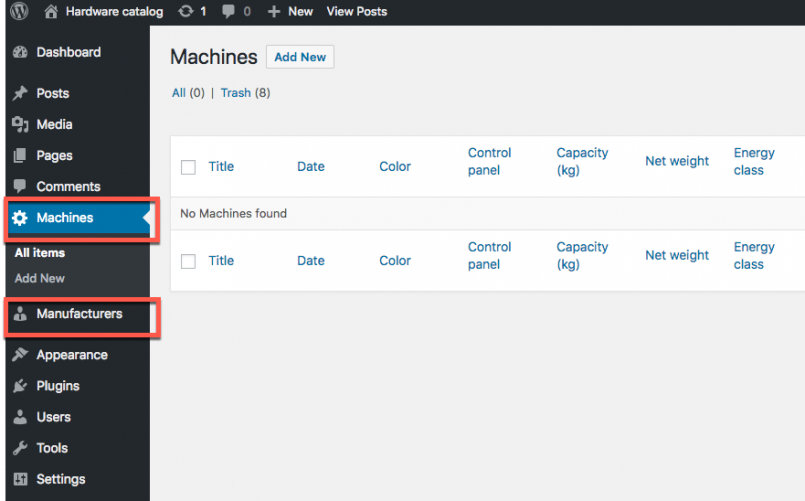
When you’re ready, you should have a working WordPress admin, which looks like this:
As you can see, the only two content types that WordPress comes with are “pages” and “posts”. WordPress designed“pages” to hold content that doesn’t change often and “posts” for news. Neither is a good fit for your custom tables.
Adding Custom Content Types to WordPress
You can convert any kind of table with any kind of columns into WordPress.
Before you do this, you need to understand how WordPress stores content.
In your custom design, you use tables with columns. So, in your design, the different kinds of content each use a separate table.
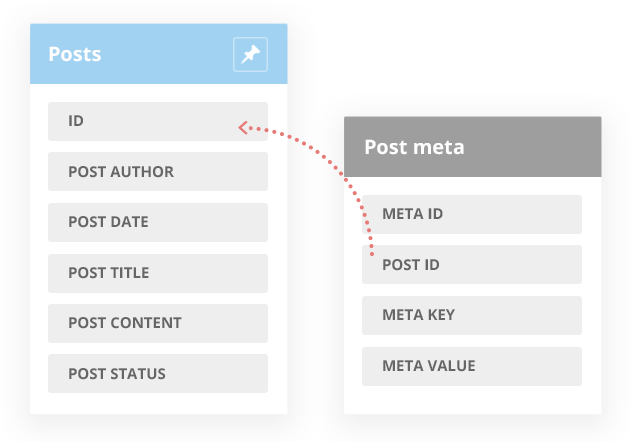
WordPress will use only two tables for all these tables. These are the ‘posts’ and ‘postmeta’ tables. The ‘posts’ table will have an entry for each row in any of your tables. The ‘postmeta’ table will have an entry for each of the cells in your tables.
The ‘posts’ table already holds all of the ‘pages’ and ‘posts’ in WordPress. Now, we are going to tell WordPress that you also need to store additional kinds of content besides pages and posts.
To do this, you should use a plugin. If you’re new to this, plugins extend the basic functionality of WordPress.
Toolset Types, as its name implies, allows you to add new content types to WordPress. We will create a ‘content type’ for each of your tables. Then, we’ll add ‘fields’ to these content types, representing the columns in your tables.
Once you’ve installed Toolset Types plugin, go to Toolset->Dashboard. From there, you can create new types. Follow our guide on setting-up post types, fields and taxonomy to see exactly how to do that.
You only need ‘custom types’ and ‘custom fields’. At this stage, you don’t need a taxonomy, which doesn’t map into anything in your tables.
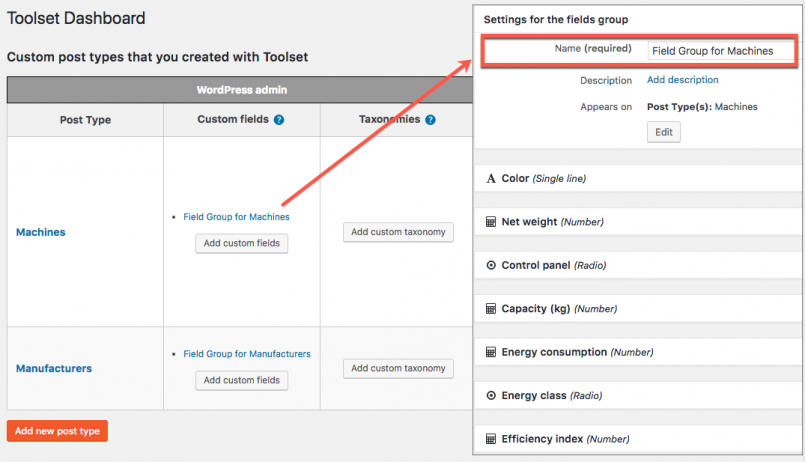
When you’re done, your Toolset Dashboard will show the new content types that you’ve created and their fields.
Connecting Related Content
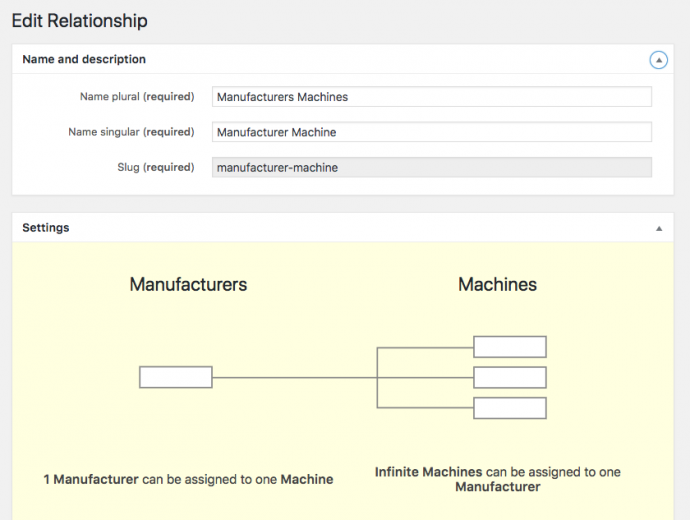
Almost always, your custom tables will have connections. In our example, a manufacturer is building a machine. So, we need to set-up a one-to-many relationship between manufacturers and machines (one manufacturer makes many machines).
To do this, go to Toolset->Relationships. You will see a button to add new relationships. If you need help, follow the guide on setting up relationships.
Now your WordPress database has all the structure needed to migrate the custom tables.
Exporting and Importing Custom Tables Into WordPress
To move the content from custom tables into WordPress, we need to perform two steps:
1) Export our tables into CSV (comma separated value) files
2) Import the data from the CSV files into WordPress
Exporting the content into CSV files
To export our tables we will use phpMyAdmin, one of the most popular MySQL administration tools. It allows you to quickly set up an SQL query that dumps the table content and exports it into a file.
In the phpMyAdmin tool, you can also preview your database schema in the Designer tab. Here are the tables we are going to export.:
To export a table’s contents into a CSV file:
- Locate and select the table you want to export
- Switch to the SQL tab
- Run the following query:
SELECT * FROM table_name
For our Manufacturers table the query could look like this:
SELECT name, description, industry, revenue_growth, profit_margin, website FROM manufacturers
For our Machines table, we will slightly modify the query, to include the full name of the manufacturer instead of the manufacturer inner id (last column). Using the full name will help us connect related records later on, during the import phase. We use full names instead of IDs because IDs will change during the import, but names stay constant.
To access the manufacturer full name, we need to join the Machines tables with the Manufacturers table.
SELECT machines.id, model_no, color, net_weight, control_panel, capacity, energy_consumption, energy_class, efficiency_index, manufacturers.name AS manufacturer
FROM machines
JOIN manufacturers ON (machines.manufacturer = manufacturers.id)
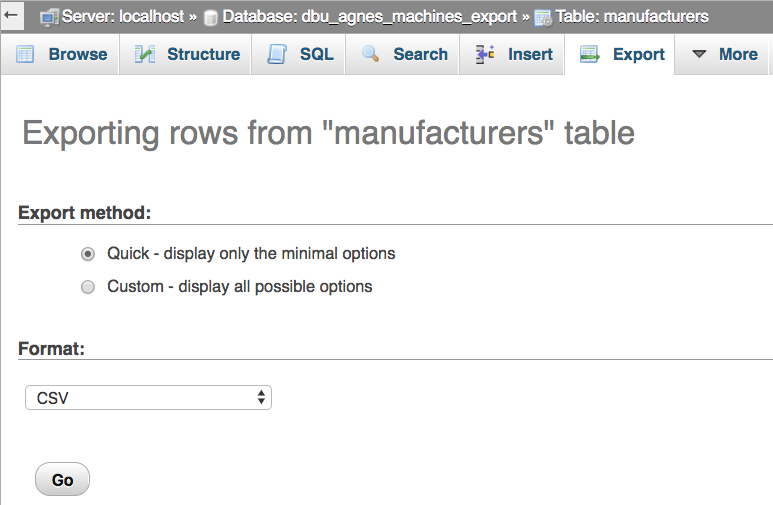
- At the bottom of your screen locate the Export link and export your results into a CSV file
Watch the video above to see the process covered step by step.
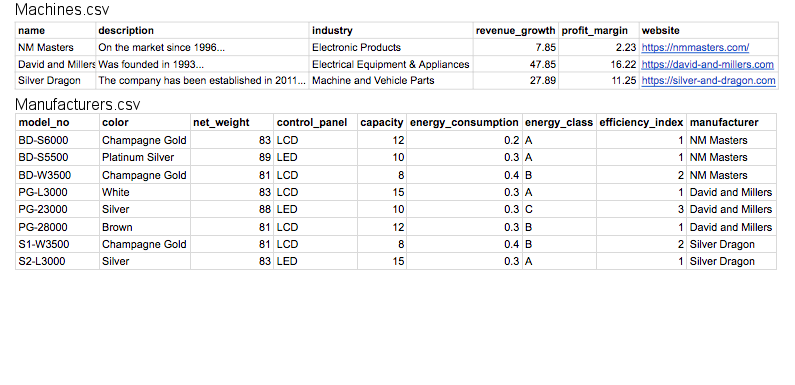
In the end, you will have CSV files for each of the tables in your custom design:
Importing the CSV files into WordPress
Now, we need to import these files into WordPress.
WordPress doesn’t have a CSV import feature, but there are great plugins that implement it. Use one of the plugins from our CSV import guide. Each CSV importer plugin has a different configuration process. Follow our guide to see how to configure and use the importer plugin.
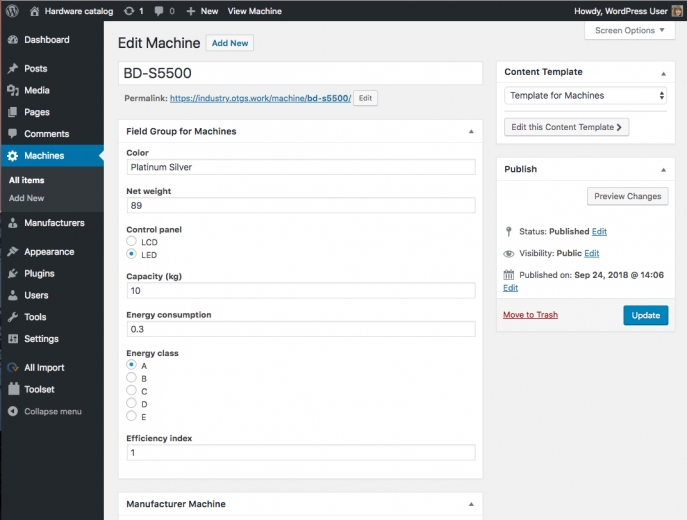
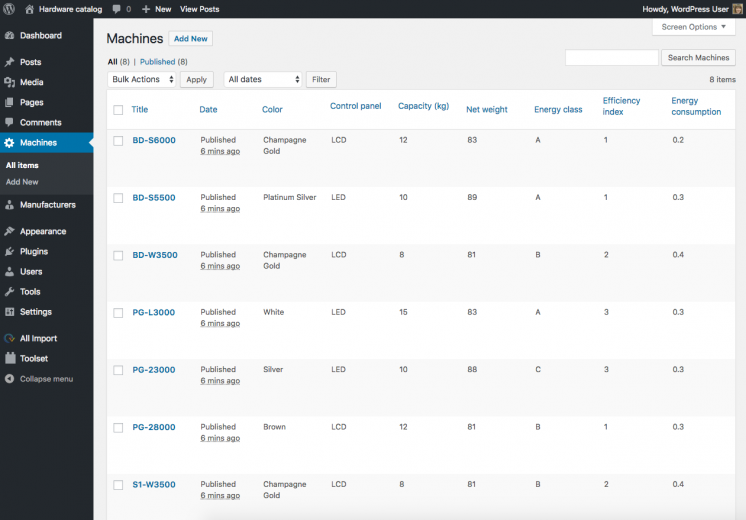
After you’ve imported your content, you will see it in the WordPress admin.
Now you have two ways to create new content for your site. You can use the WordPress admin to create, edit and delete content. And, you can repeat the export/import process via CSV for batch content import.
Designing the Front-End Display for Your Custom Content
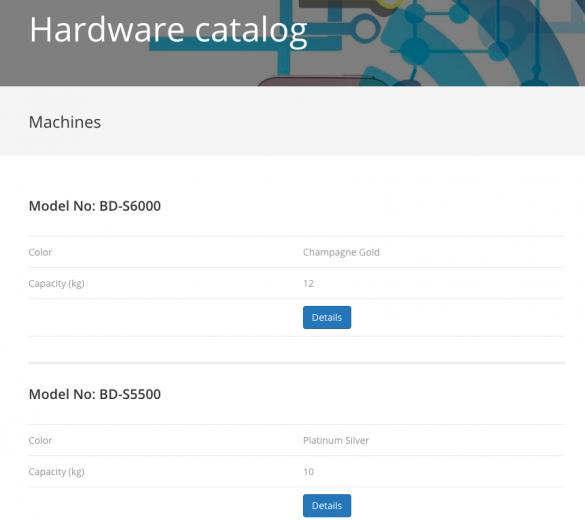
So far, we’ve focused on moving your content from custom tables into WordPress. You can see everything in the WordPress admin. Now it’s time to design how this content displays on the site’s front-end.
Templates for ‘Single’ Items
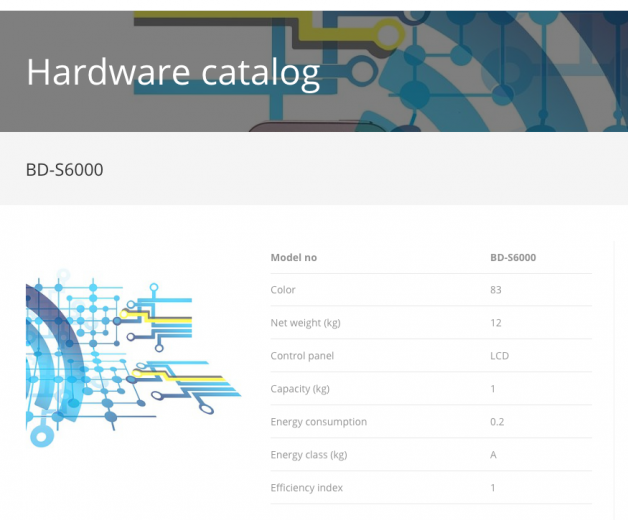
In WordPress jargon, we call ‘single’ the pages that display a single item. For example, the page that displays a single machine or a single manufacturer.
In your custom database design, you would run a SELECT query to load one row from a table. We display that entry, along with values coming from the different columns as the “single machine” page.. WordPress does the heavy lifting for you. When you visit the page of a single item, WordPress will query the correct row from the database and load all its fields.
All you need to do is design the template for each ‘content type’.
Toolset allows you to design templates in different ways. You can design templates with HTML code or using a page builder. To see your options and learn how, read the guide on creating templates.
Lists of Items
There will be many occasions where you will need to display lists of items.
In your custom design, you would run a SELECT query for a set of items. Then you would loop through them and render each.
With Toolset, you have a visual tool that will build this query for you and loop through the items. All you need to do is enter the HTML structure for the output of the loop and the items in it.
Read how to display custom lists of content.
Archives
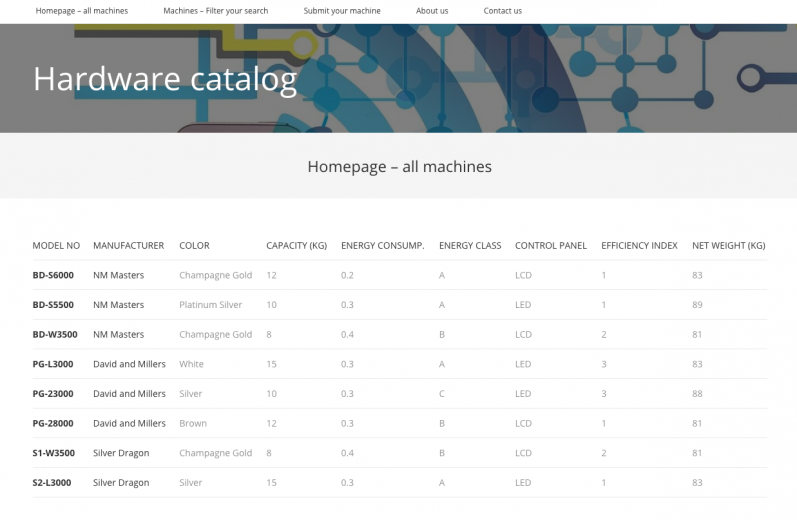
WordPress takes care of a “standard list” for every content type, called its “archive”. This is a list of all the items that belong to this type. Every site should have an archive for each content type. These archives are good for your visitors and great for SEO.
Learn how to design archives with Toolset.
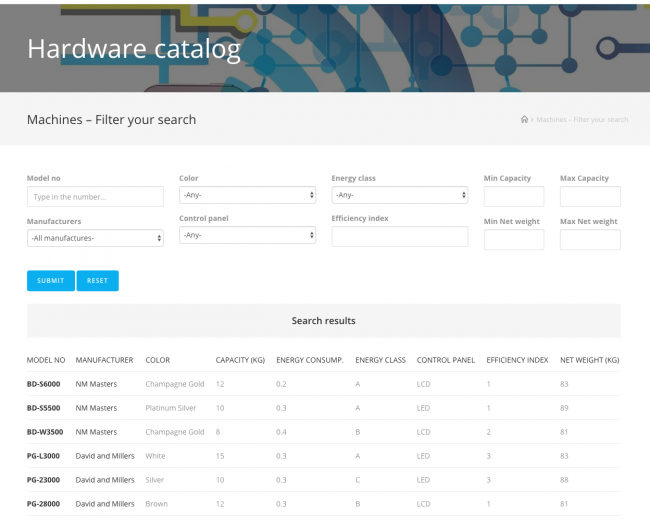
Custom Search for Your Content
So far, we have learned how to design the templates for your content and how to create lists. However, if your site has a lot of content, you will want to offer a way for visitors to quickly find what they need. You need to build a “search”.
Every search includes two parts:
- The search box
- The search results
Visually, the search box and search results can look however you want.
Learn how to filter content lists and add a custom search.
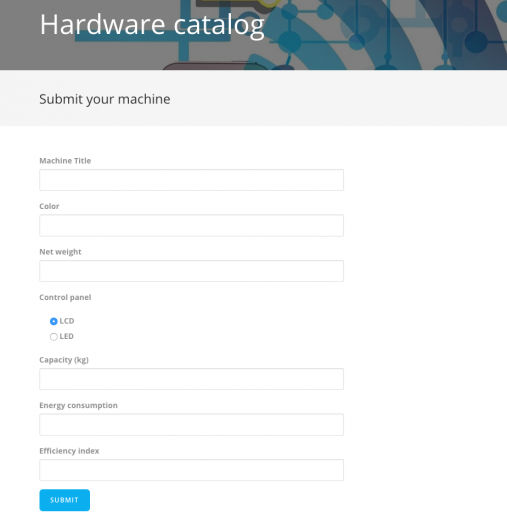
Front-End Editing for Custom Content
You can create a simplified editing interface for your content, which doesn’t require accessing the WordPress administration. To do this, you need to create front-end editing forms.
Your forms can create new entries, edit existing entries and even delete entries. Of course, you control who can access every kind of form.
Handling Content in Multiple Languages
Sometimes, the content in your custom tables may be multilingual. This means that different rows represent translations. For example:
When you import multilingual content into WordPress, you need WPML plugin. Follow the guide on using WP All Import with WPML.
Conclusion
In this tutorial, we have explained how to combine the power of WordPress with custom development. You will be able to migrate your existing custom tables into WordPress and use the richness of WordPress themes and plugins to develop websites faster and easier.
WordPress can make your life a lot easier as you don’t need to code everything from scratch. When you choose WordPress, you get a convenient editing interface, a huge selection of great looking themes and a powerful display engine.
We use a number of commercial plugins to accomplish this migration:
- Toolset
- WP All Import
- WP All Import – Toolset Types Add-On
- WPML (if you need a multilingual website)
When you choose paid plugins, you receive support and updates. You can rest assured that your site is always going to run smoothly and be secure.
If you need advice or help, use our presales page.
