To display a list of any kind of content with Toolset, you need to create a View. Here are the steps for creating a View to display WooCommerce orders.
Before you start, make sure to install the following plugins:
WooCommerce
Toolset Types
Toolset Blocks
Toolset WooCommerce Blocks
1. Create the View
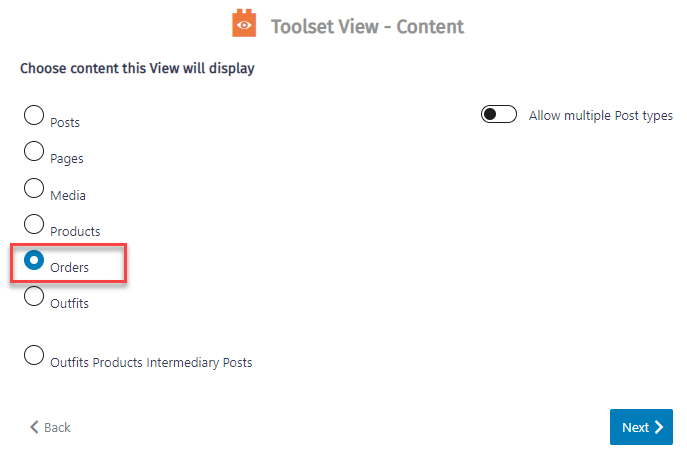
Create or edit a page, post or a template and insert the Toolset View block. In the wizard, give it a name and select the View’s design options. Finally, in the last step, select the Orders post type and click Next.
Selecting Orders
2. Select the post status for Orders you want to list
When displaying Orders on the front-end, you can select a post status of the Orders you wish to list.
WooCommerce Orders have a custom set of “post statuses”, which are different from the default
WordPress ones.
Here is the list of all WooCommerce order statuses with their respective slugs:
Pending payment (wc-pending)
Processing (wc-processing)
On hold (wc-on-hold)
Completed (wc-completed)
Cancelled (wc-cancelled)
Refunded (wc-refunded)
Failed (wc-failed)
When listing Orders using a View, you can select the relevant post status for them:
In block navigation, select your View. In the right sidebar expand the Content Selection section. In the Query Filter section, click the Add a filter button.
Select to filter by Post status. In the list of available post statuses, check the preferred ones and click Save. In our example, we selected wc-completed to list only the finalized sales.
Post status filter for completed orders
3. Design the Front-end List of Orders
As a final step, you need to design how to display our list of Orders on the front-end. In our example, we display completed WooCommerce Orders and list the following information for each:
Post (order) ID
Post (order) title
First name of the customer
Last name of the customer
To display this information you need to use Toolset blocks. For example, you could use the Single Field block. Insert it and in the right sidebar under the Field Source section select Standard Field. Finally, under Post Field you can select the information you want to display for an order (i.e. Post Title).
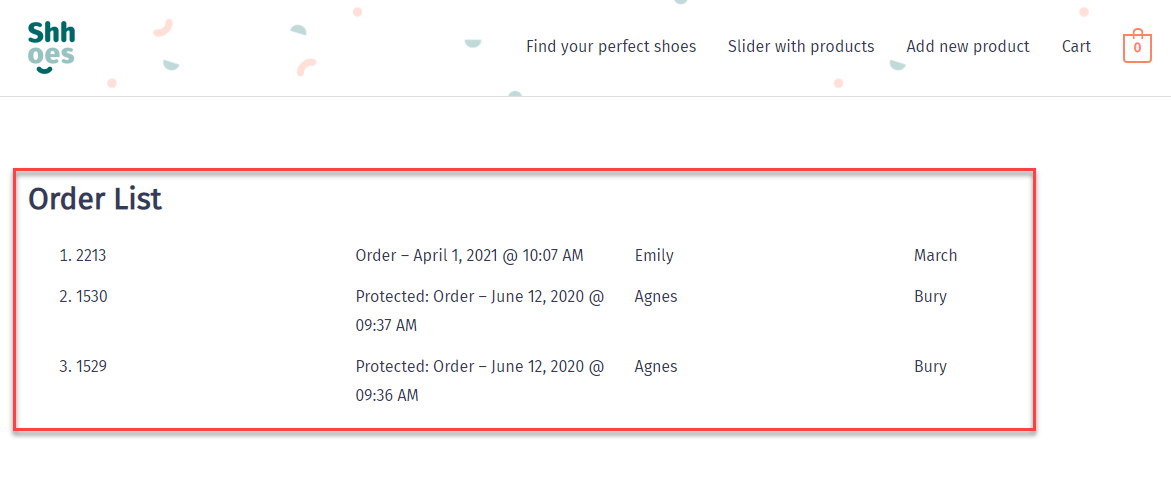
The following image displays how our list of Orders looks like.
List of orders in the front-end
Enabling Specific WooCommerce Orders Fields for Views
By default, some custom fields of WooCommerce Orders like “Billing first name”, “Billing last name”, and “Billing email for the customers” are hidden. This means your View cannot display them until you make them accessible to it.
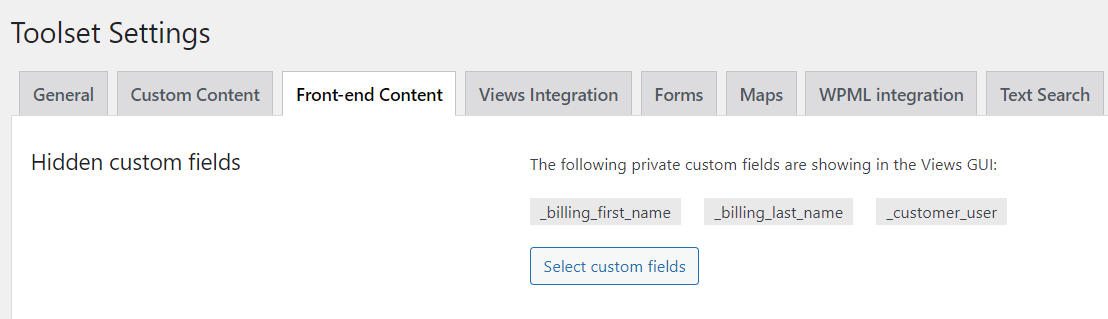
To do this go to Toolset → Settings, click the Front-end Content tab, and look at the Hidden custom fields section.
There, click the Select custom fields button and check all the fields starting with _billing.
WooCommerce Orders fields selected to be visible in Views
That’s it, now that the WooCommerce Orders fields are visible in the View block, you can also add those extra fields to your list of orders. Again, simply use one of Toolset blocks and their dynamic sources option.