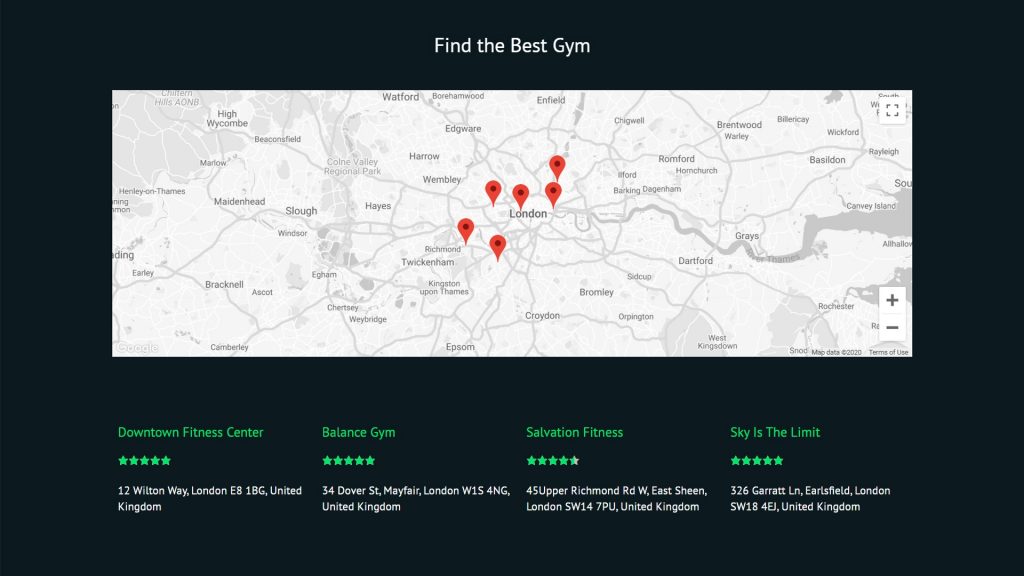
To start displaying OpenStreetMap, Google, or Azure maps on your website, you first need to install and set up the Toolset Maps plugin. You can then add an Address custom field to your content.
Follow these steps
Install Toolset Maps
- Make sure the Toolset Types plugin is installed and registered on your site.
- In the WordPress admin, go to the Plugins → Add New page and click the Commercial tab.
- In the list of Toolset plugins select Toolset Maps, check the Activate after download option and click the Download button.
Alternatively, you can download the Toolset Maps plugin from your Toolset account page and manually upload it to your site.
Choose your map provider
Toolset Maps supports Google Maps, Microsoft Azure Maps, and OpenStreetMap.
To choose the one you want to use:
- Go to Toolset → Settings and click the Maps tab.
- In the Map to use section, select your preferred map service.
To display Google or Azure maps, you must first configure an API key with their service. If you select OpenStreetMap, no API key is required—you can start building maps right away.
Add a custom Address field to your content
After installing and configuring Toolset Maps, you can add an Address field to any post type.
- Create a group of custom fields or edit an existing one.
- Click the Add New Field button and select to insert an Address field.
- In the dialog that appears, enter the name and other options for the Address field.
The address field will now appear when editing posts of that post type.
Related topics
- Displaying a Simple Map
- Displaying a Map on A Single Post Template
- Displaying a List of Posts on A Map
- Filtering and Ordering Map Markers by Distance
- Using custom styles for maps
- Creating an API Key for Using Google and Azure Maps
- How to Use Google Maps API from China
- Data Caching For Maps Addresses
