When you create themes based on Toolset, you build everything locally. Your clients receive this theme in the form of a complete package that has your complete design, all sample content, and even documentation that we generate automatically for you.
Delivering the theme to your clients is the final step in the process. Before you can deliver a theme, you need to build it. If you are new to this, begin with the documentation on building Toolset-based themes.
When your theme is all set up, it will appear in the Themes section of your account.
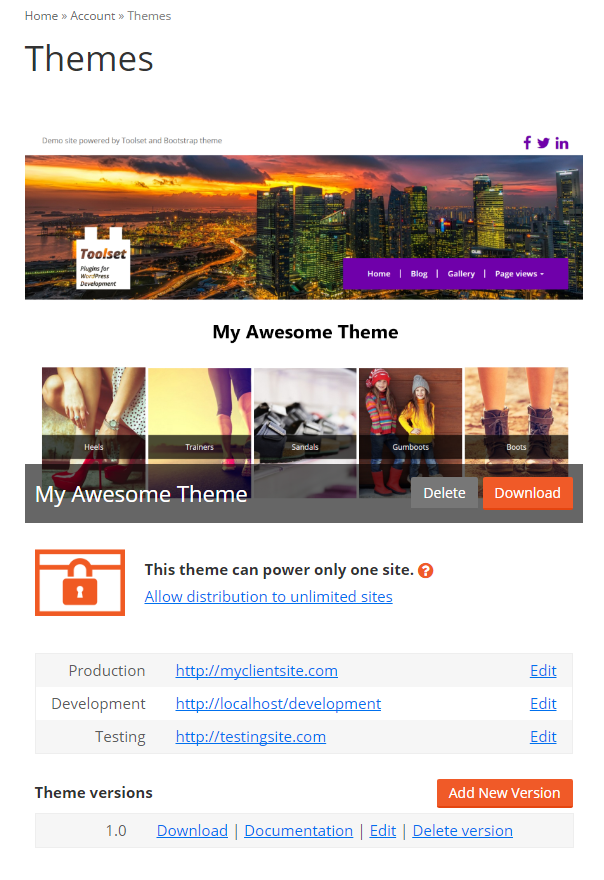
Setting URLs for the theme
If you have an Author account, you can distribute your themes freely. Other accounts can still create Toolset-based themes, but can only deploy them to one site, with up to three URLs:
- Development – where the site is initially created
- Testing – where you and your clients can test to verify if everything appears and works correctly.
- Production – final, live site available to the public.
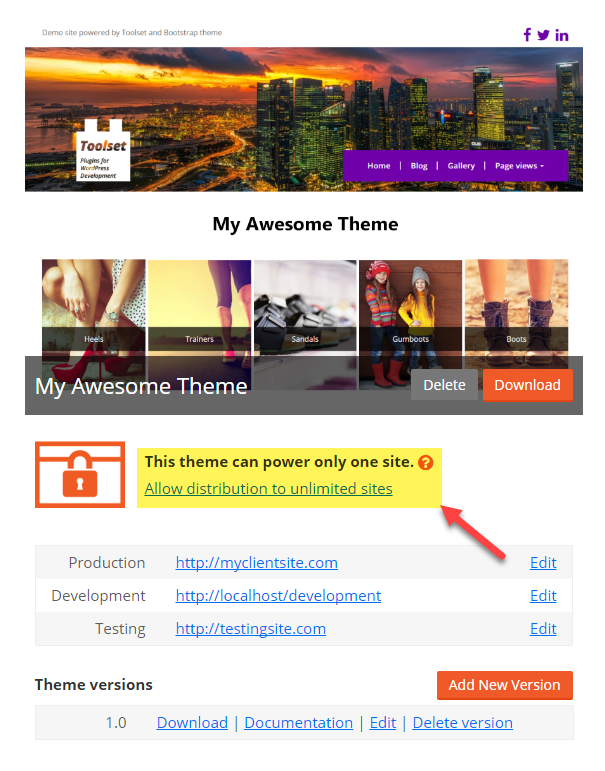
You can change the distribution model at any time by clicking the allow distribution to unlimited sites link, under your theme’s overview.
Delivering the theme to your clients
Toolset-based themes work similar to any other WordPress theme. Click on the Download link in your theme to obtain its ZIP file. Send this ZIP to your clients and ask them to upload it as any other WordPress theme (using the Appearance -> Themes page in the WordPress admin).
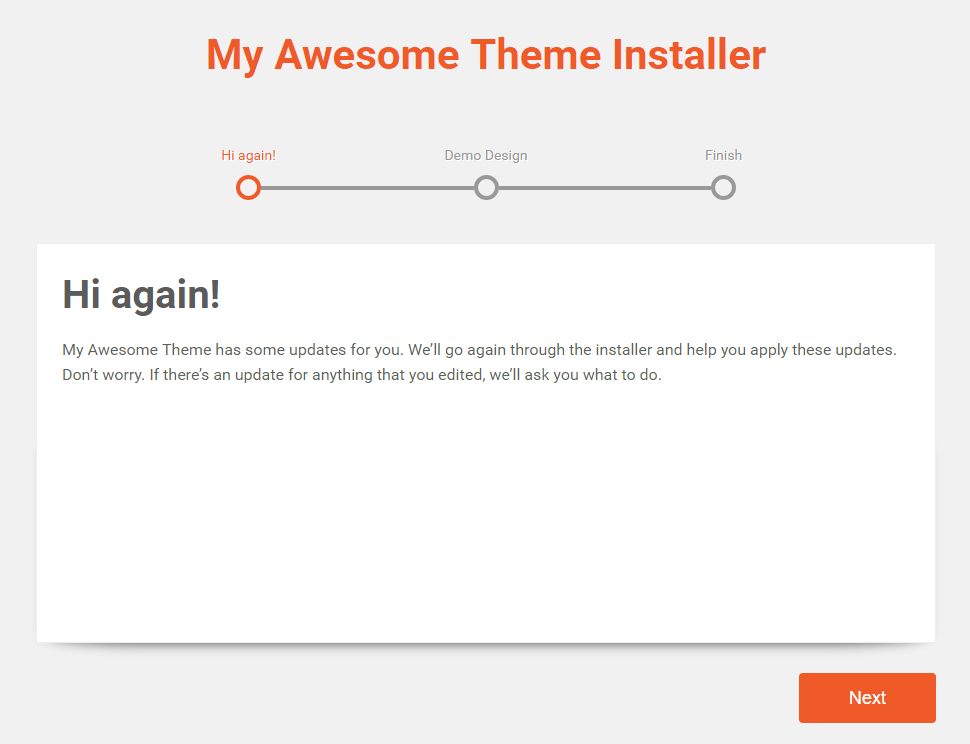
What your clients see when they activate your theme
Right after your clients activate your Toolset-based theme, they will see a wizard, which guides them through the installation process. At the end of the wizard, the site will include an exact copy of what you built locally. This will include all required Toolset plugins, your design, configuration, and demo content.

Updating the site
After making important changes to the site, you can use the same tool to deliver updates to your clients. Go to your theme and click on Add new version.
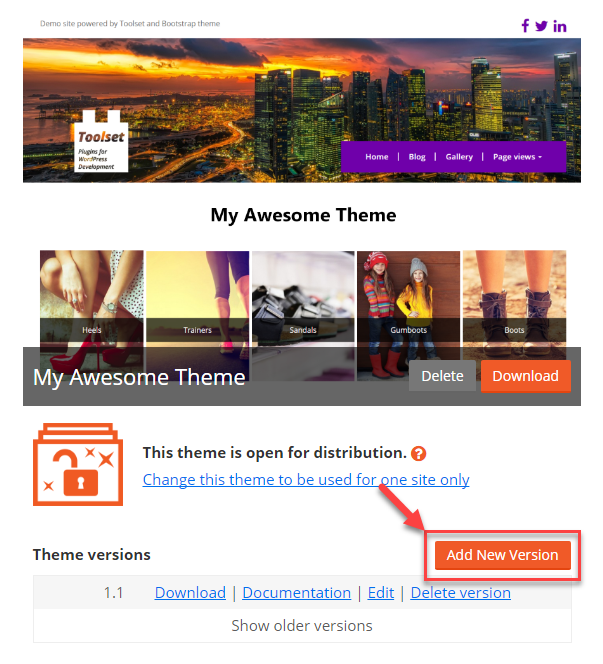
The process of preparing a new version is the same as the one for registering the theme the first time.
Then, you need to download the updated ZIP file, with the new version and make it available to your clients through your site. Clients that have the previous versions already installed will see the update notification in the WordPress administration area.
| Theme update as shown on the Themes page | Theme update as shown on the Dashboard Update page |
|---|---|
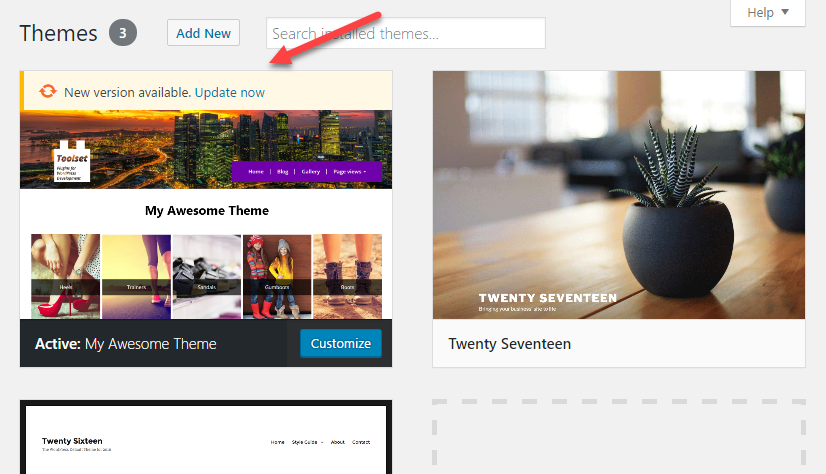 |
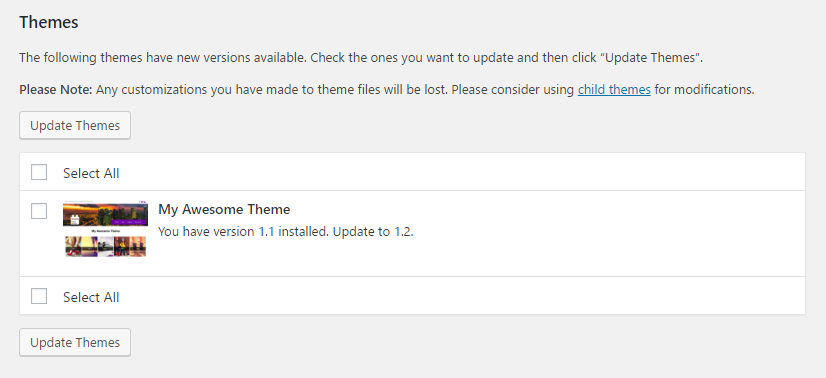 |
When your clients install the new version, they will see the setup wizard again. This time, the wizard will only offer clients options relevant to update the site.