Adding Toolset forms to a layout allows to create and edit new post contents or register and edit new users, right from your site’s front-end. Once you have Forms and Layouts plugins installed on your site, you can use all of the Forms features right from the Layouts drag-and-drop editor.

To add Toolset forms to your layouts, you simply need to insert a Post Form or User Form cell and set the options for it.

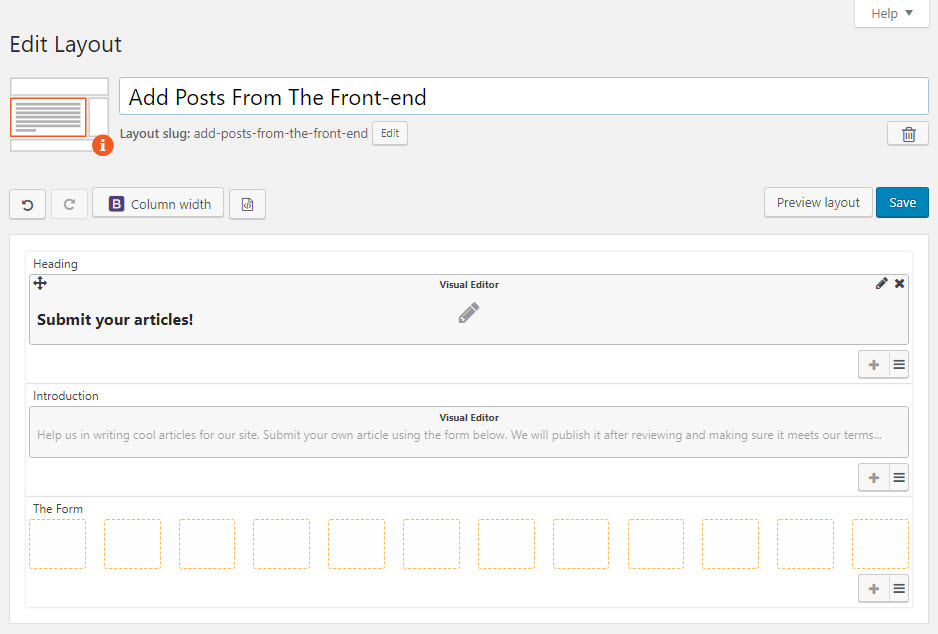
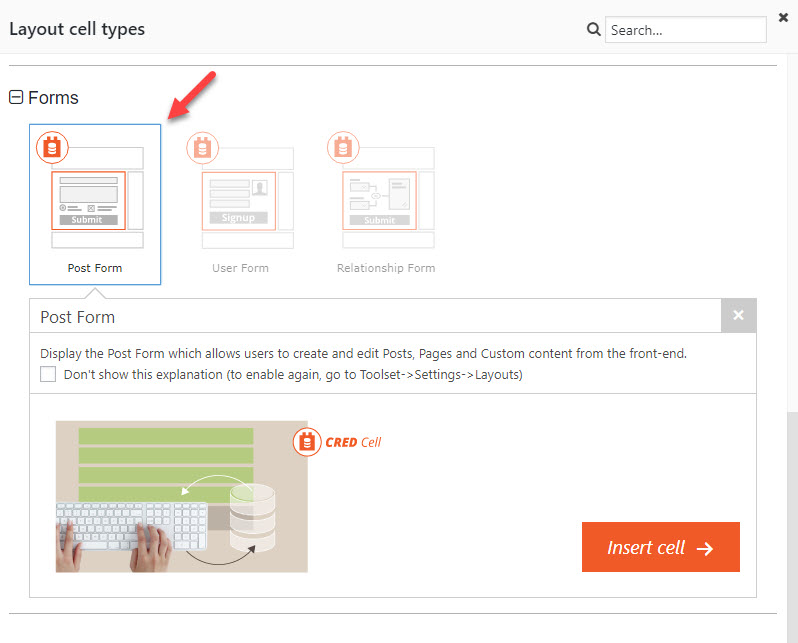
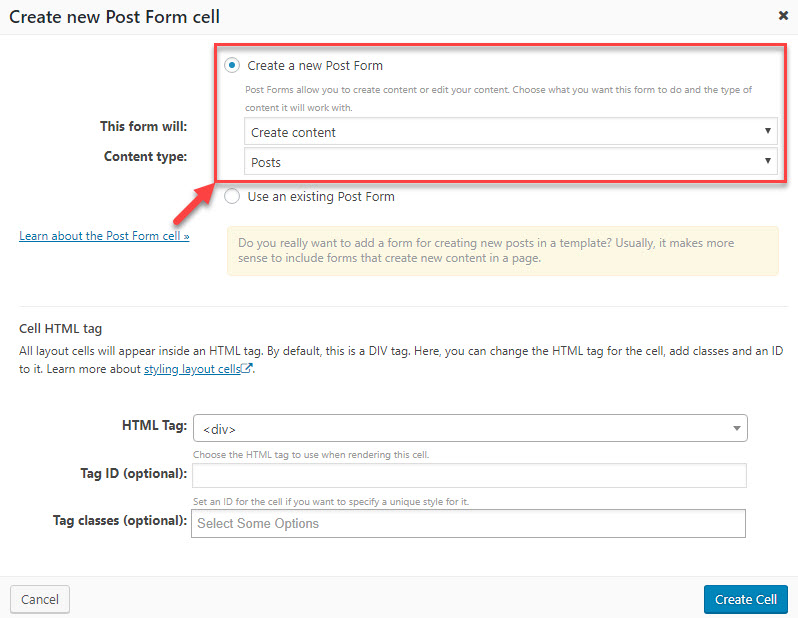
Inserting a Post Form cell

The following table shows the steps needed to insert a Post Form cell into our layout.

What to do Screenshot
  • Edit a layout that you want to insert a post form into.
  • In our example, it features the heading and the introduction.
Layouts before inserting the form
  • Insert the Post Form cell into the layout.
Inserting the Post Form
  • Select the insertion options for the Post Form.
  • We want to create a new Toolset form.
  • We need to select a content type that will be created by the form. In our example, we selected the standard Posts.
  • Click the Create cell button when done selecting the options.
Post Form options during insertion
  • Our Post Form will now be created and the Forms editor will open in the dialog box.
  • This is the very same editor featured in the Forms plugin itself.
Form editor in a dialog box


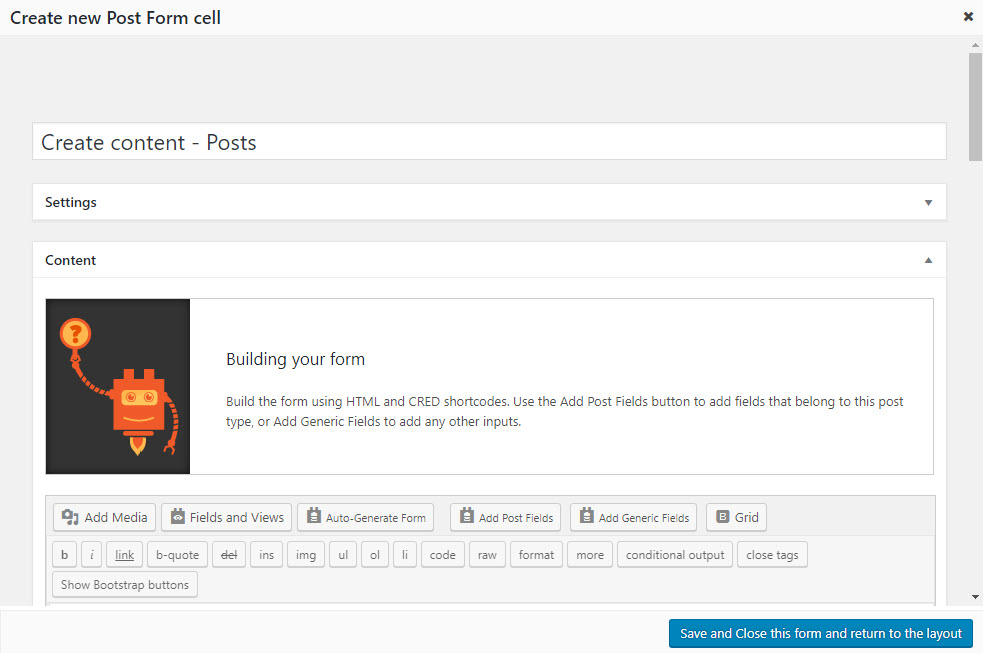
That is it, you have inserted a Post Form into your layout. The form was automatically generated, based on the options you selected during the cell insertion. You can use the editor to further tweak the settings of your form, or click the Save and close this form and return to the layout button.

The following image shows how our layout looks like when used on the front-end.

Post Form example on the front-end

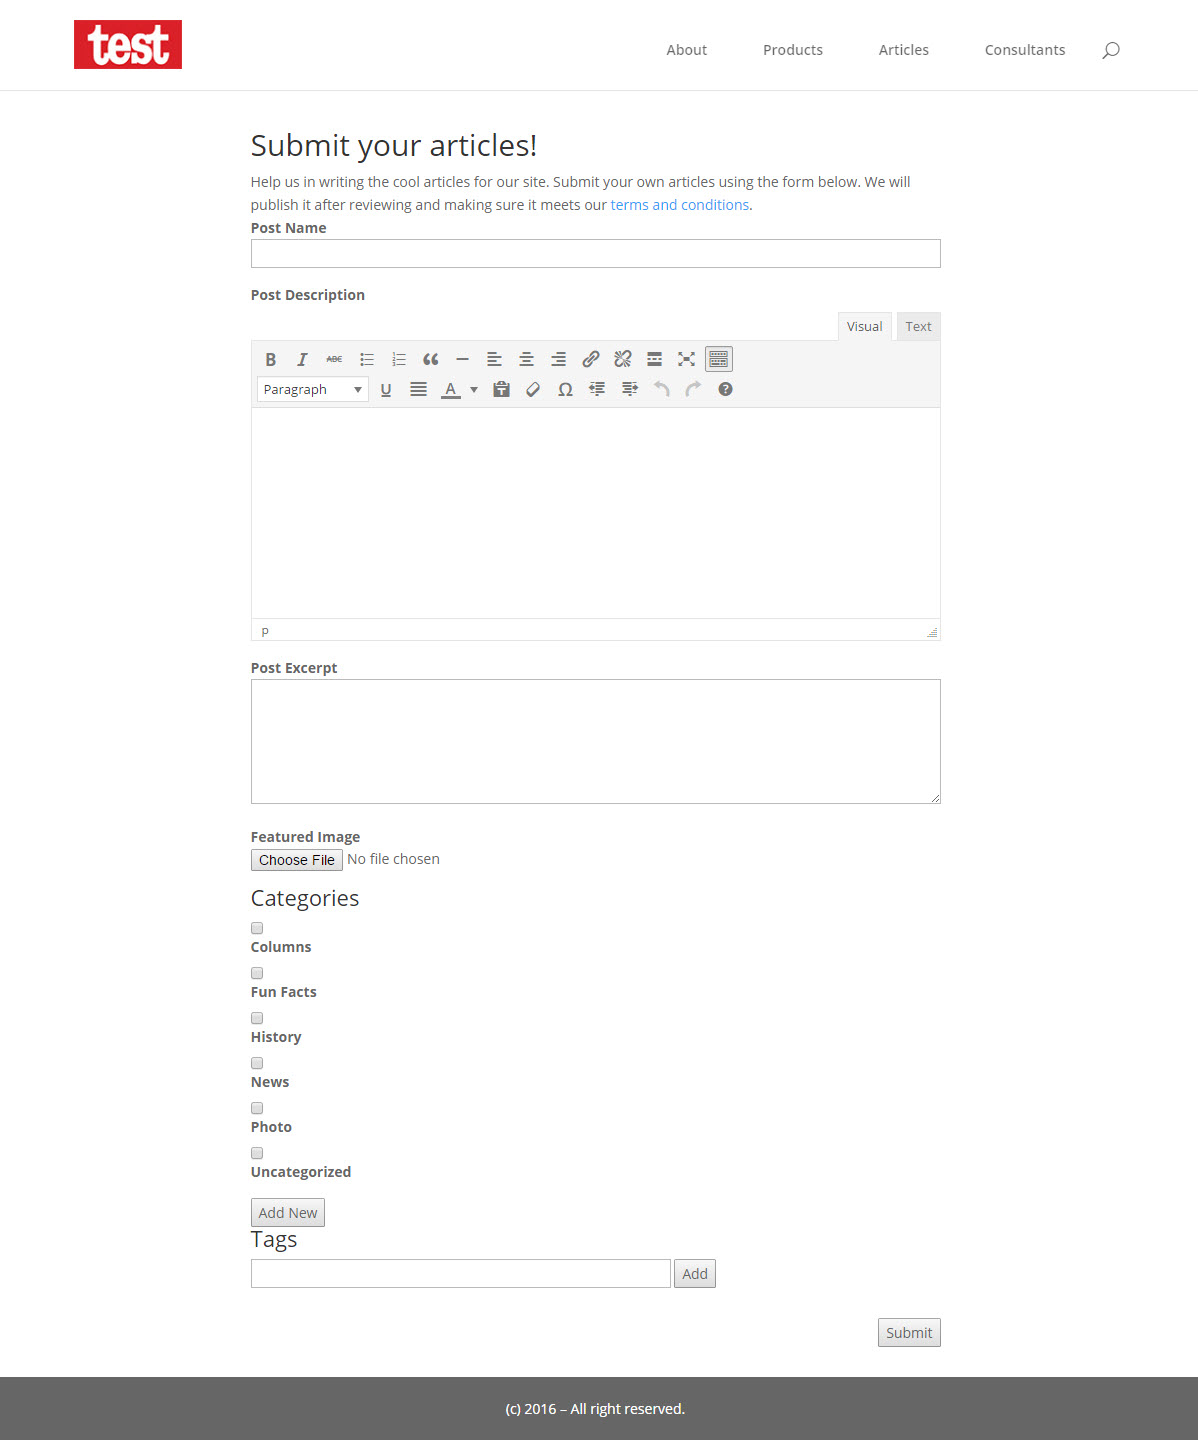
We highly recommend you to read our front-end content submission and editing user guide and learn more about many possibilities and features provided by Post Forms.

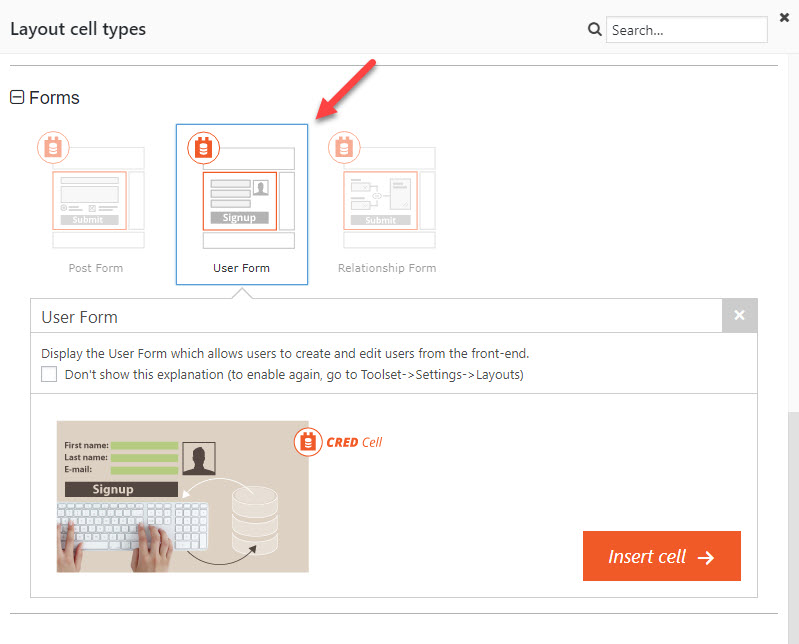
Inserting a User Form cell

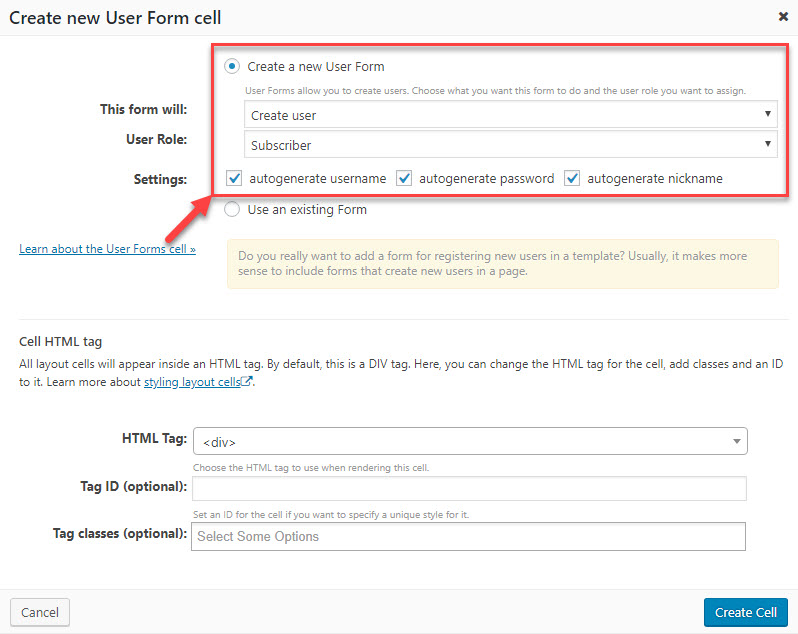
The following table shows the steps needed to insert a User Form cell into our layout.

What to do Screenshot
  • Edit a layout that you want to insert a post form into.
  • In our example, it features the heading and the introduction.
Layout before inserting our User Form
  • Insert the User Form cell into the layout.
User Form insertion dialog
  • Select the insertion options for the User Form.
  • We want to create a new Toolset form.
  • We need to select a user type that will be created by the form. In our example, we selected the Subscriber.
  • We need to select whether username, nickname, and password will be automatically created. When set to autogenerate, Forms will need to send this information to the registered users otherwise, they would have no means of accessing the site. You need to set these email notifications in the forms settings manually.
  • In our example, we chose to let the users specify their own username, nickname and password.
  • Click the Create cell button when done selecting the options.
User Form options during insertion
  • Our User Form will now be created and the Forms editor will open in the dialog box.
  • This is the very same editor featured in the Forms plugin itself.
Form editor in a dialog box

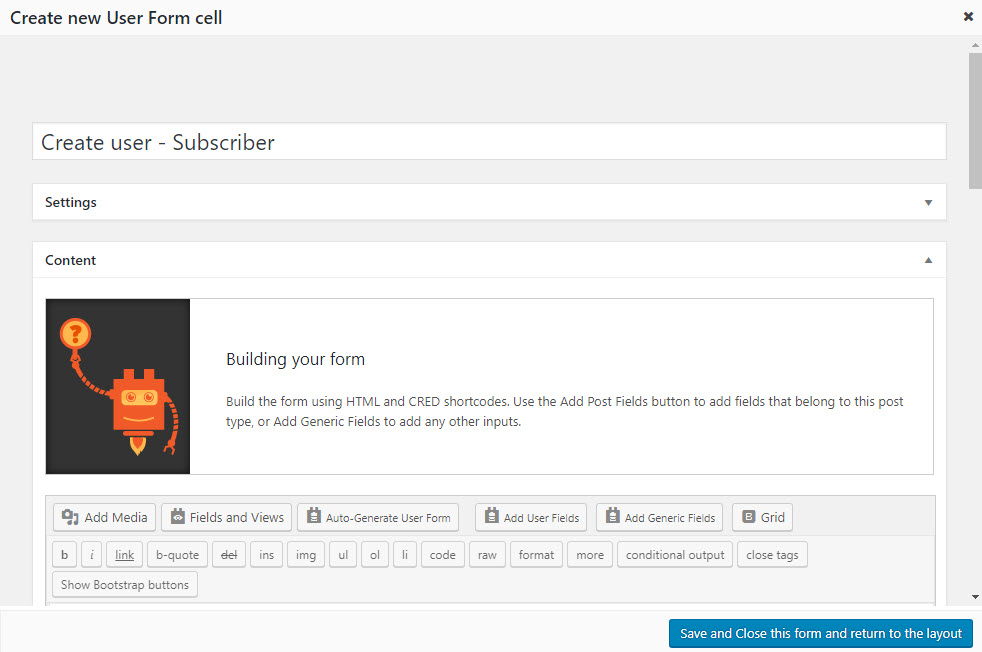
That is it, you have inserted a User Form into your layout. Just as with Post Forms, the form was automatically generated, based on the options you selected during the cell insertion. You can use the editor to further tweak the settings of your form, or click the Save and close this form and return to the layout button.

The following image shows how our layout looks like when used on the front-end.

User Form example on the front-end


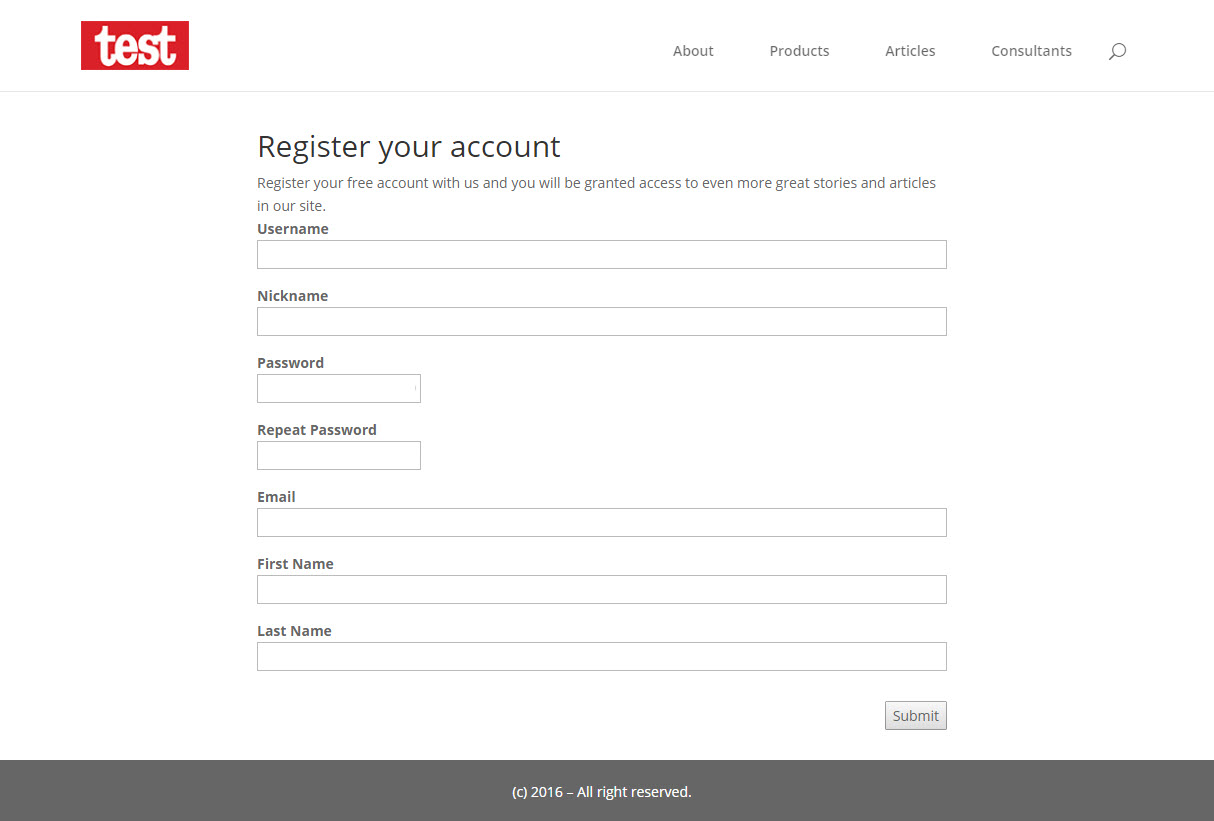
We highly recommend you to read our front-end user registration and editing user guide and learn more about many possibilities and features provide by User Forms.